Organize Your Pantry Like a Pro
Pantries are my number one favorite space to organize. Why?! I love to cook, I think food is beautiful when it’s displayed in pretty baskets and jars, and I love the challenge of making sense of small spaces. But you don’t need to be a professional to have a pantry that functions perfectly. Read on to see how!
STEP 1: You gotta sort. Take everything out, toss anything expired, and donate anything unopened you know you’re not going to eat (local homeless shelters or food banks will take it!).
Sort what’s left into categories. I encourage people to be creative here, but if you need a little guidance, some of our frequently-used categories are:
breakfast
snacks
dinner
grains & pasta
dried fruit & nuts
baking
canned goods
condiments
sweets
beverages
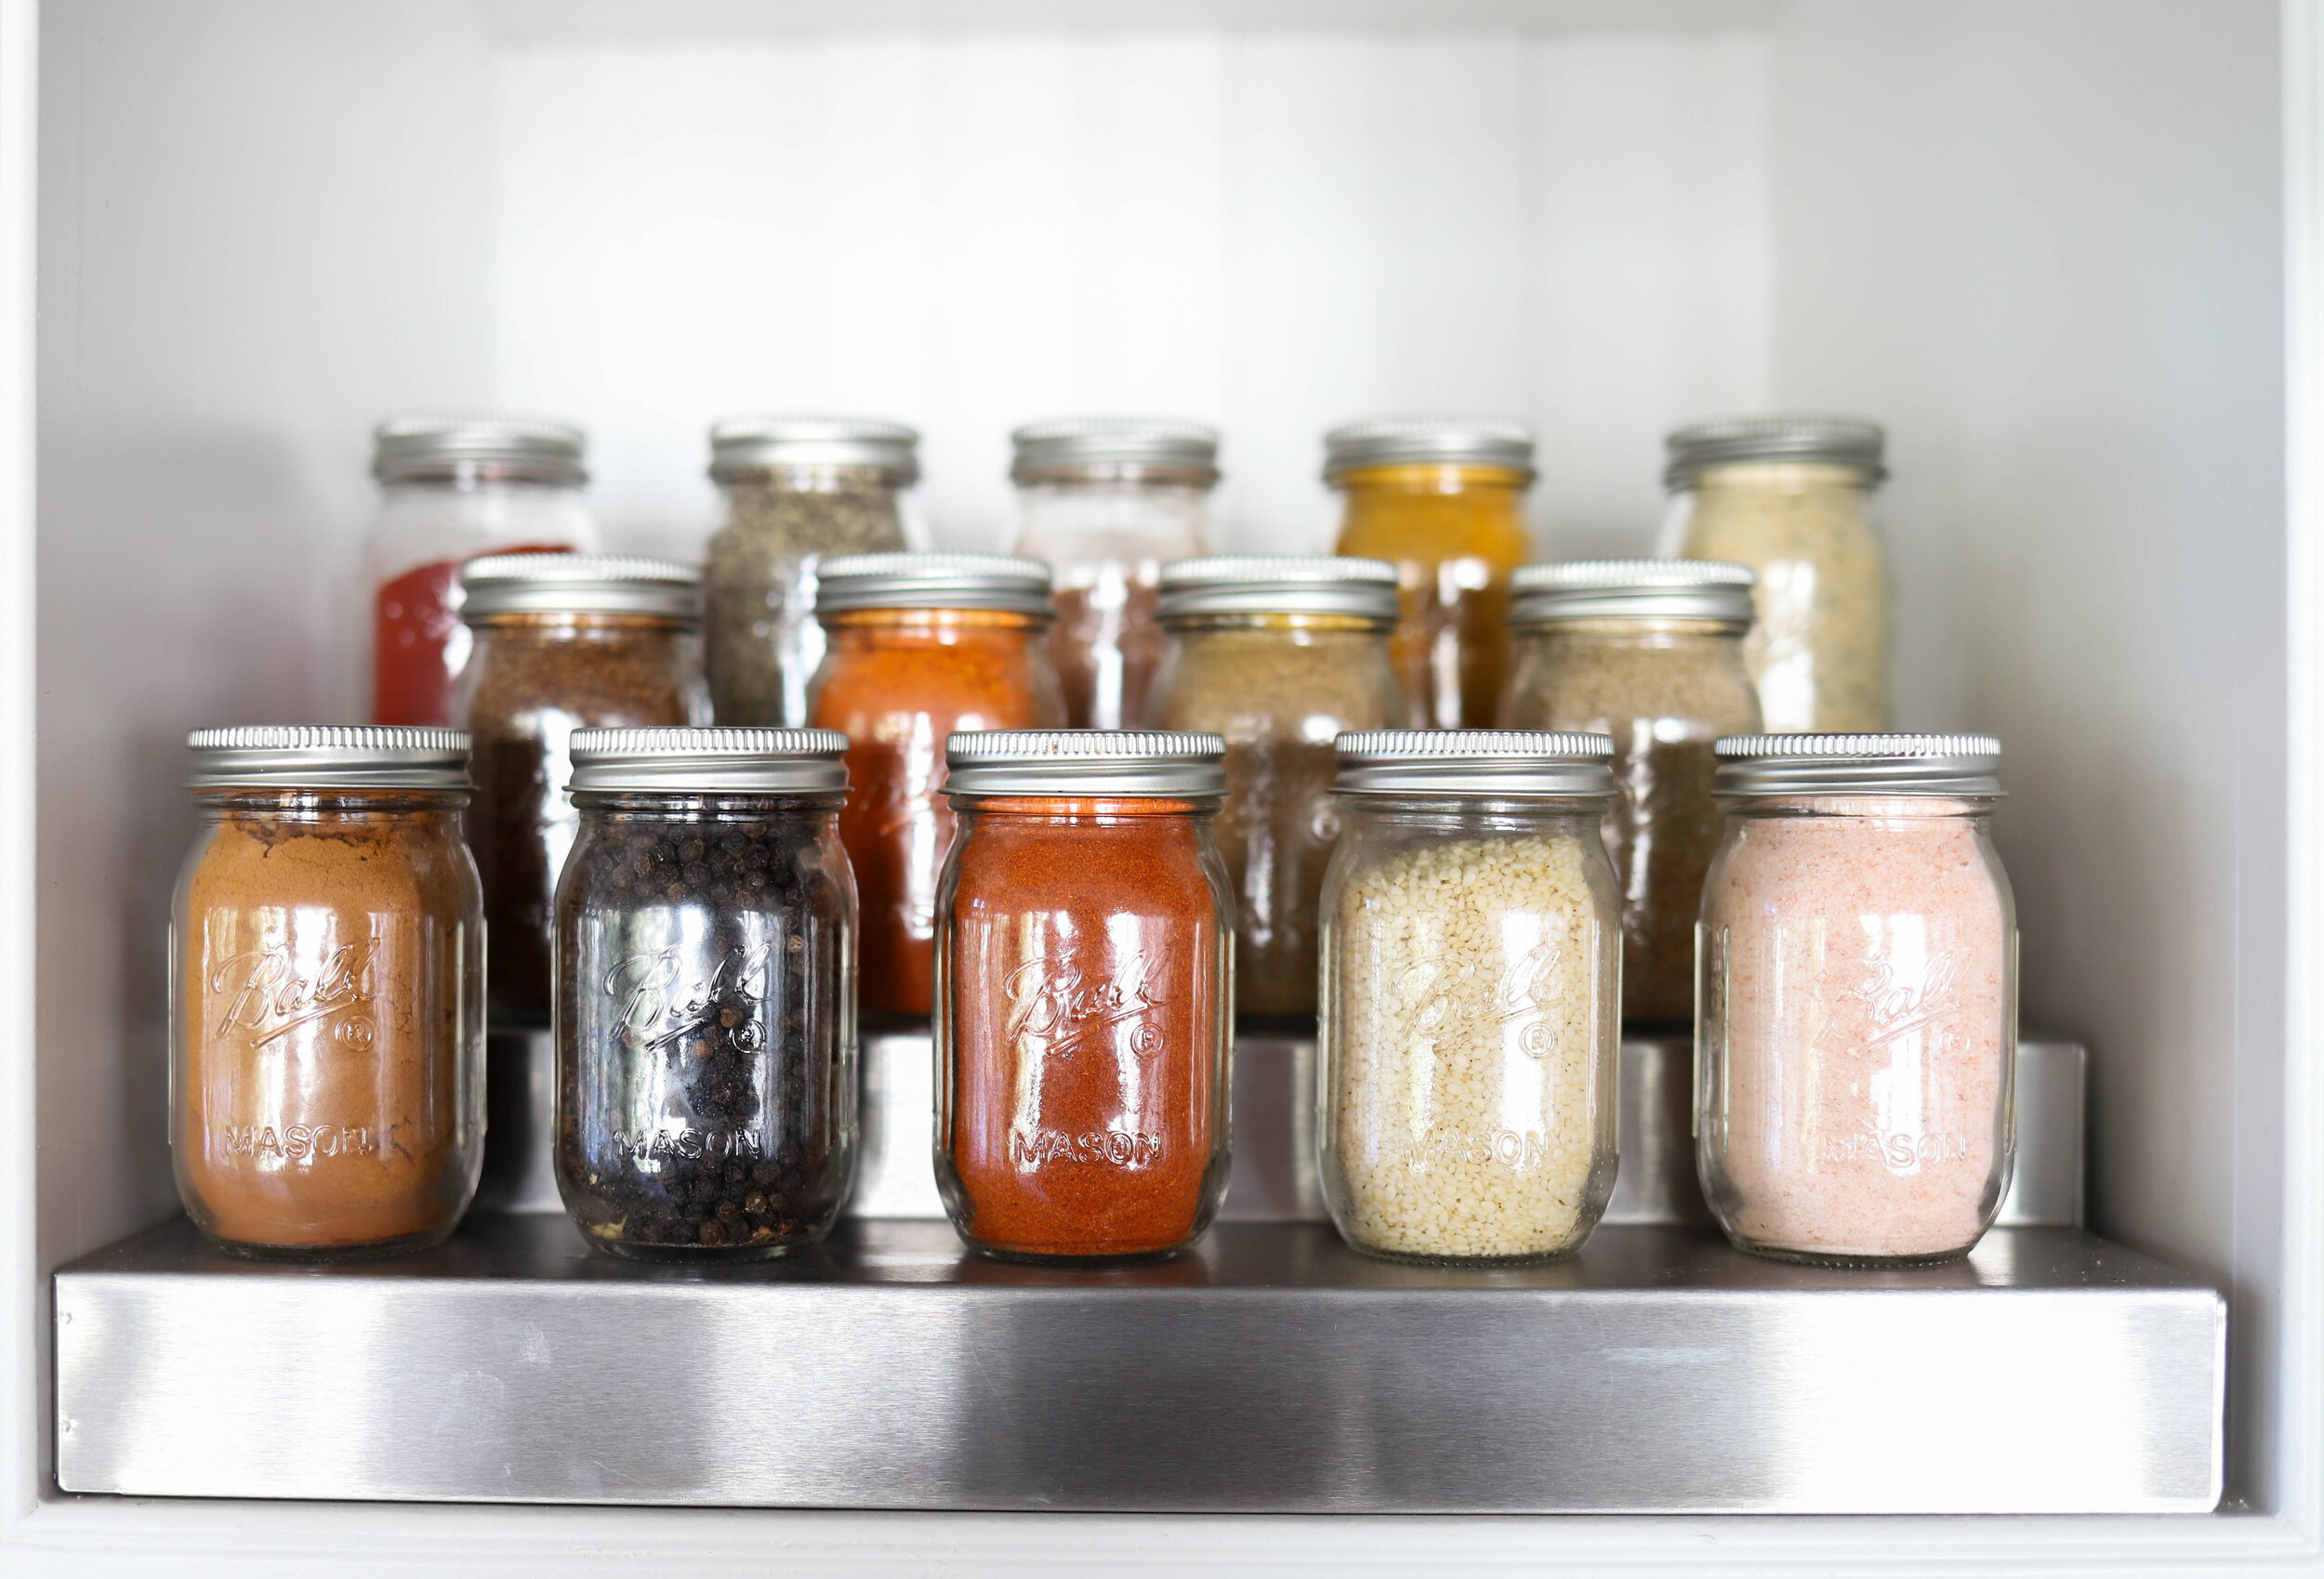
spices
STEP 2: Clean baby, clean! Wipe down the shelves in your pantry and make everything feel shiny and new before putting everything back.
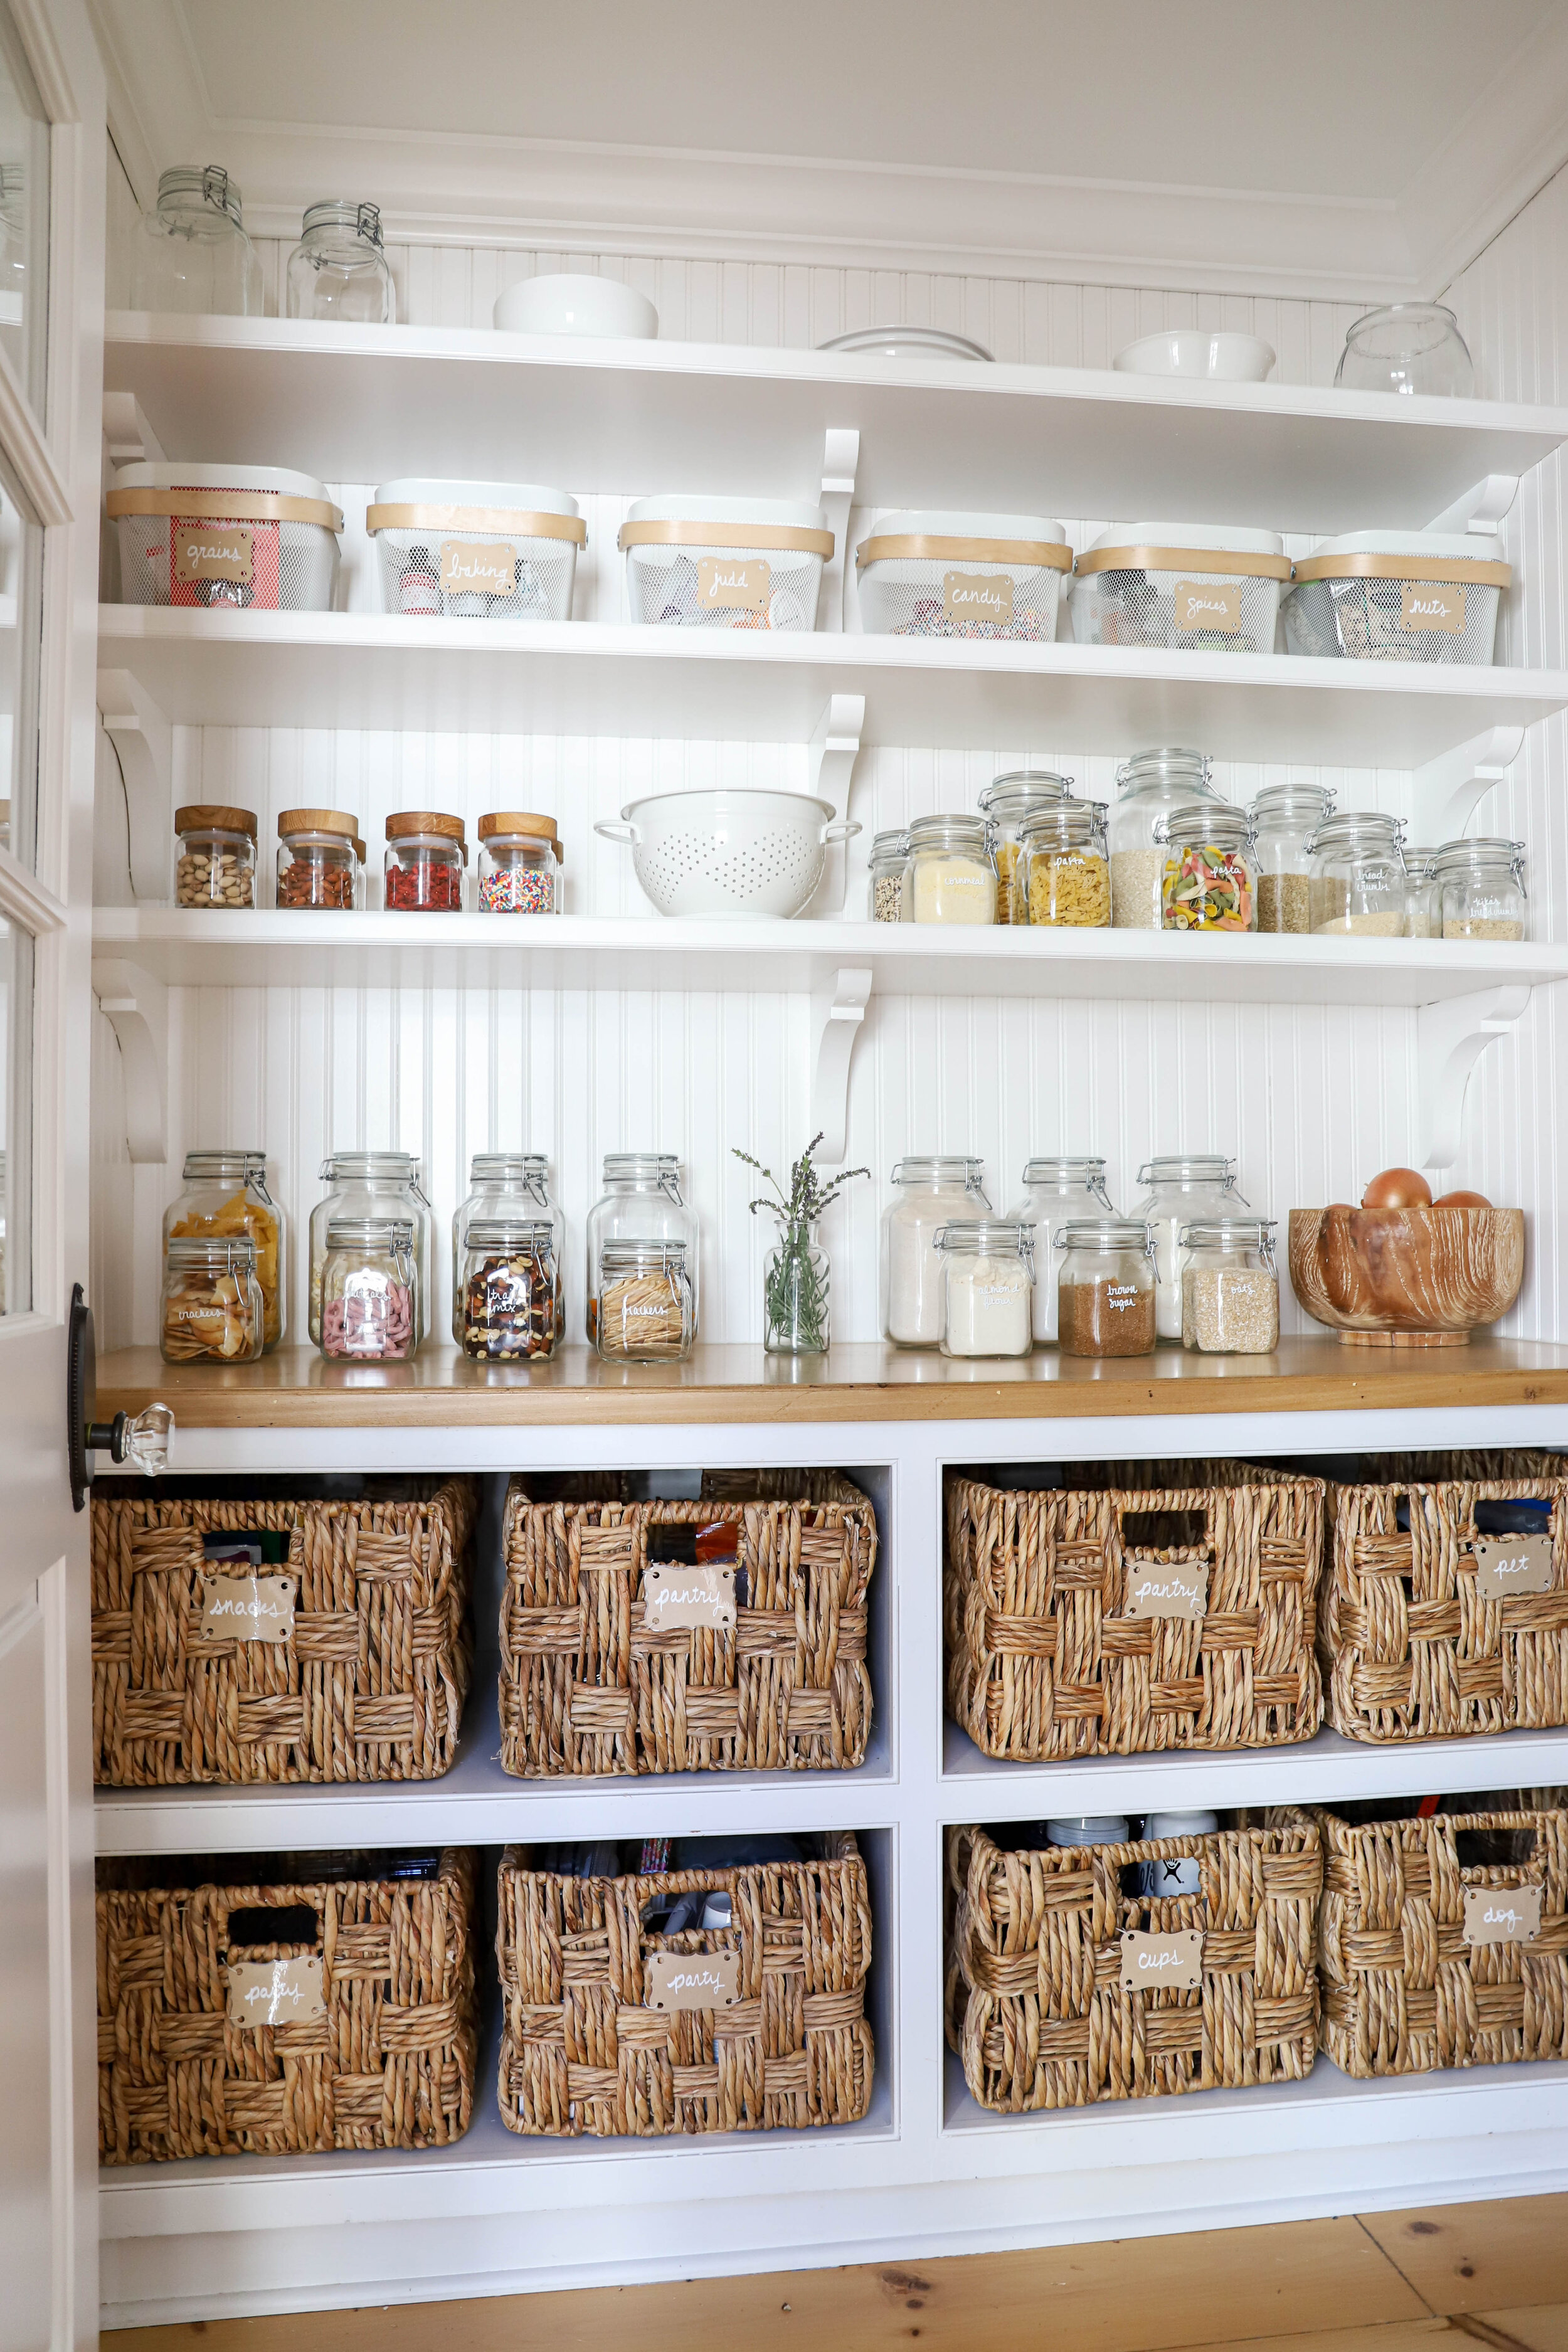
STEP 3: It’s time to put things back into your pantry in categories. The key to an organized space is creating ZONES. This means that items live together by category. And ideally, the categories you use most often (like breakfast or snacks) are in the easiest-to-reach spaces. Take your time during this step and try things out! I find that organizing a pantry is like playing Tetris, you have to move things around a bit before it all fits right. Don’t expect to get it right on your first try! I’ve been organizing professionally for nearly a decade and it STILL takes me awhile to figure out the right layout for a pantry because every single space is different and every family has their own specific needs and priorities.
I often find it helpful to temporarily label the categories while you’re in this step using painters tape or post-its and a sharpie. Labels help focus our brains, and this can make a fairly chaotic process feel more manageable.
STEP 4: This is undoubtedly the most fun step: PRODUCTS!! Ok so you don’t need fancy things to be organized, that’s the truth. But you do need structure in your spaces - this means you need some combination baskets, bins, jars and labels to keep your zones intact and your categories contained. There are a million places to get containers - you probably have some you could use in your home right now!
If you’re in the market for some new pantry goodies, you’ve come to the right place. I love pantry products and I’ve curated a list of my favorite pantry organization staples that will serve you well for years to come.
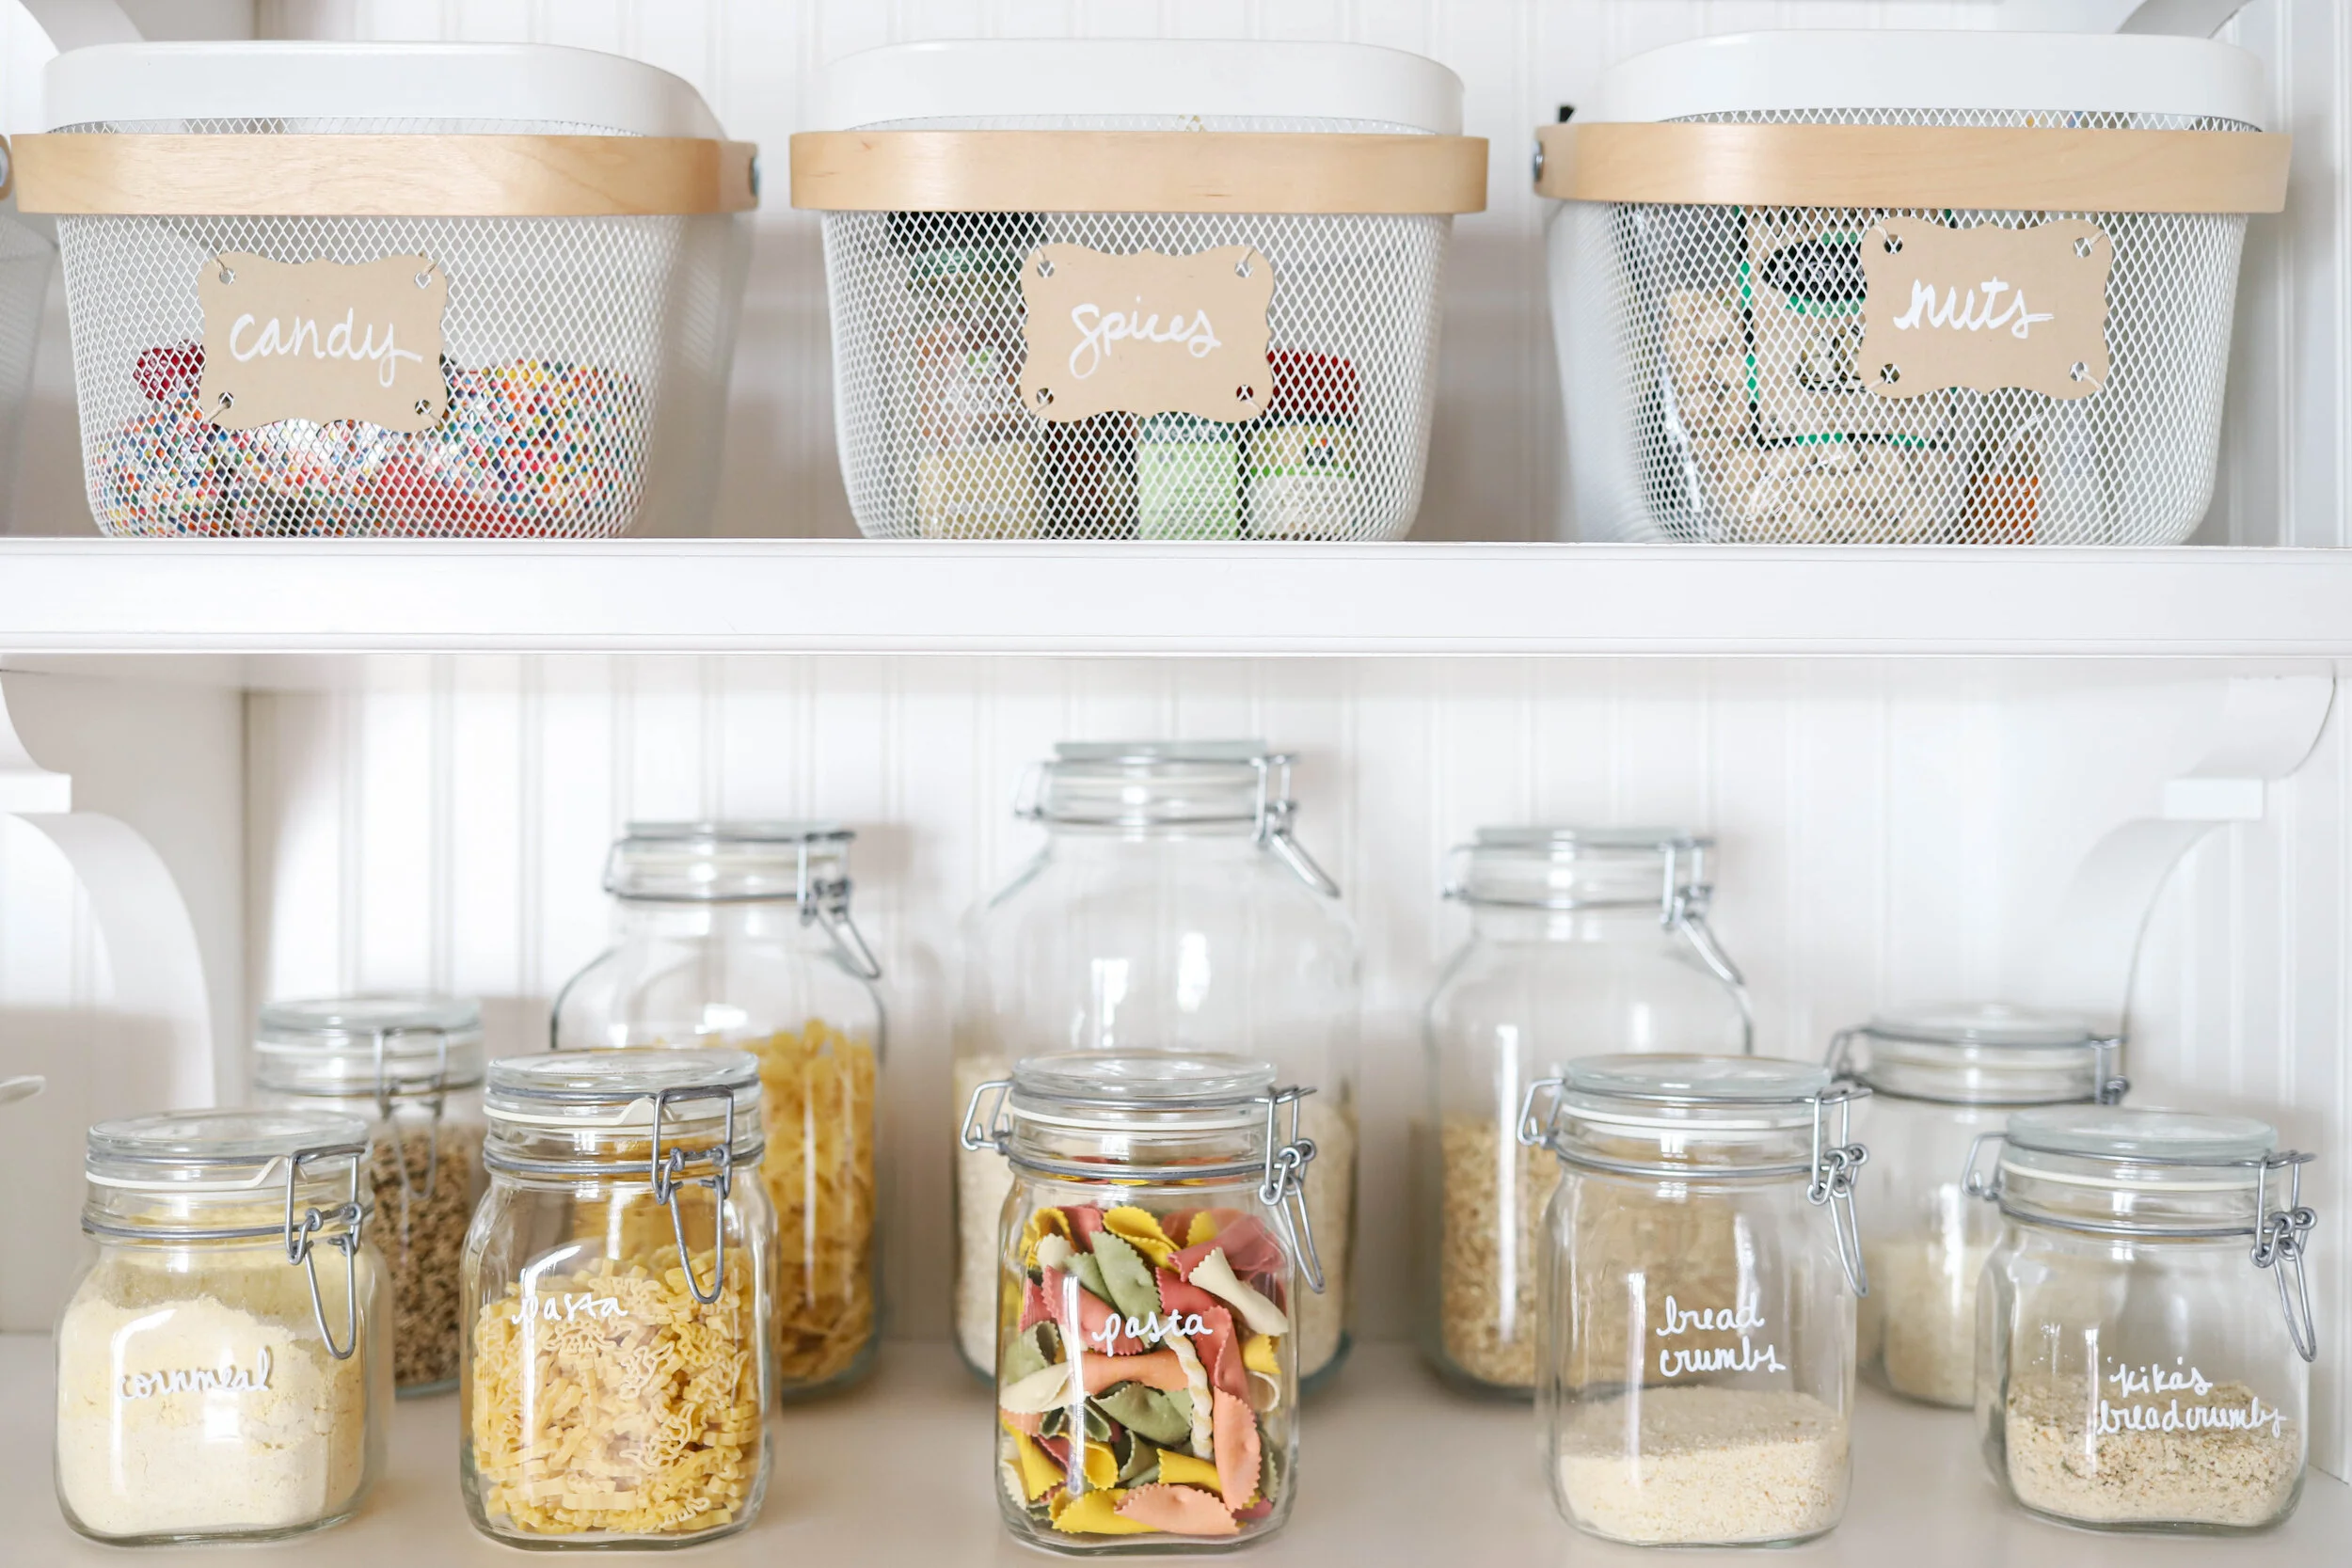
Before you go shopping crazy though, make sure you measure and plan out what you need. You already know where each zone lives in your space, so this shouldn’t be too hard. Maybe your condiments are stuffed in a tight corner, so you want a turntable there. Cereal stays fresh in jars or canisters. Bags of nuts are way easier to keep organized in a box or basket. (You get the picture.)
scroll through to see my pantry organizing picks
Once you have your zones corralled into baskets, bins, and jars, it’s time to label. Repeat after me, “I promise not to skip this step.” Labeling is extremely important because it creates accountability. Without labels, it’s easy to forget a week or two in what each category is, and before you know it all of your hard work is down the drain. Also, if you live with other humans who know how to read, this makes them accountable, too.
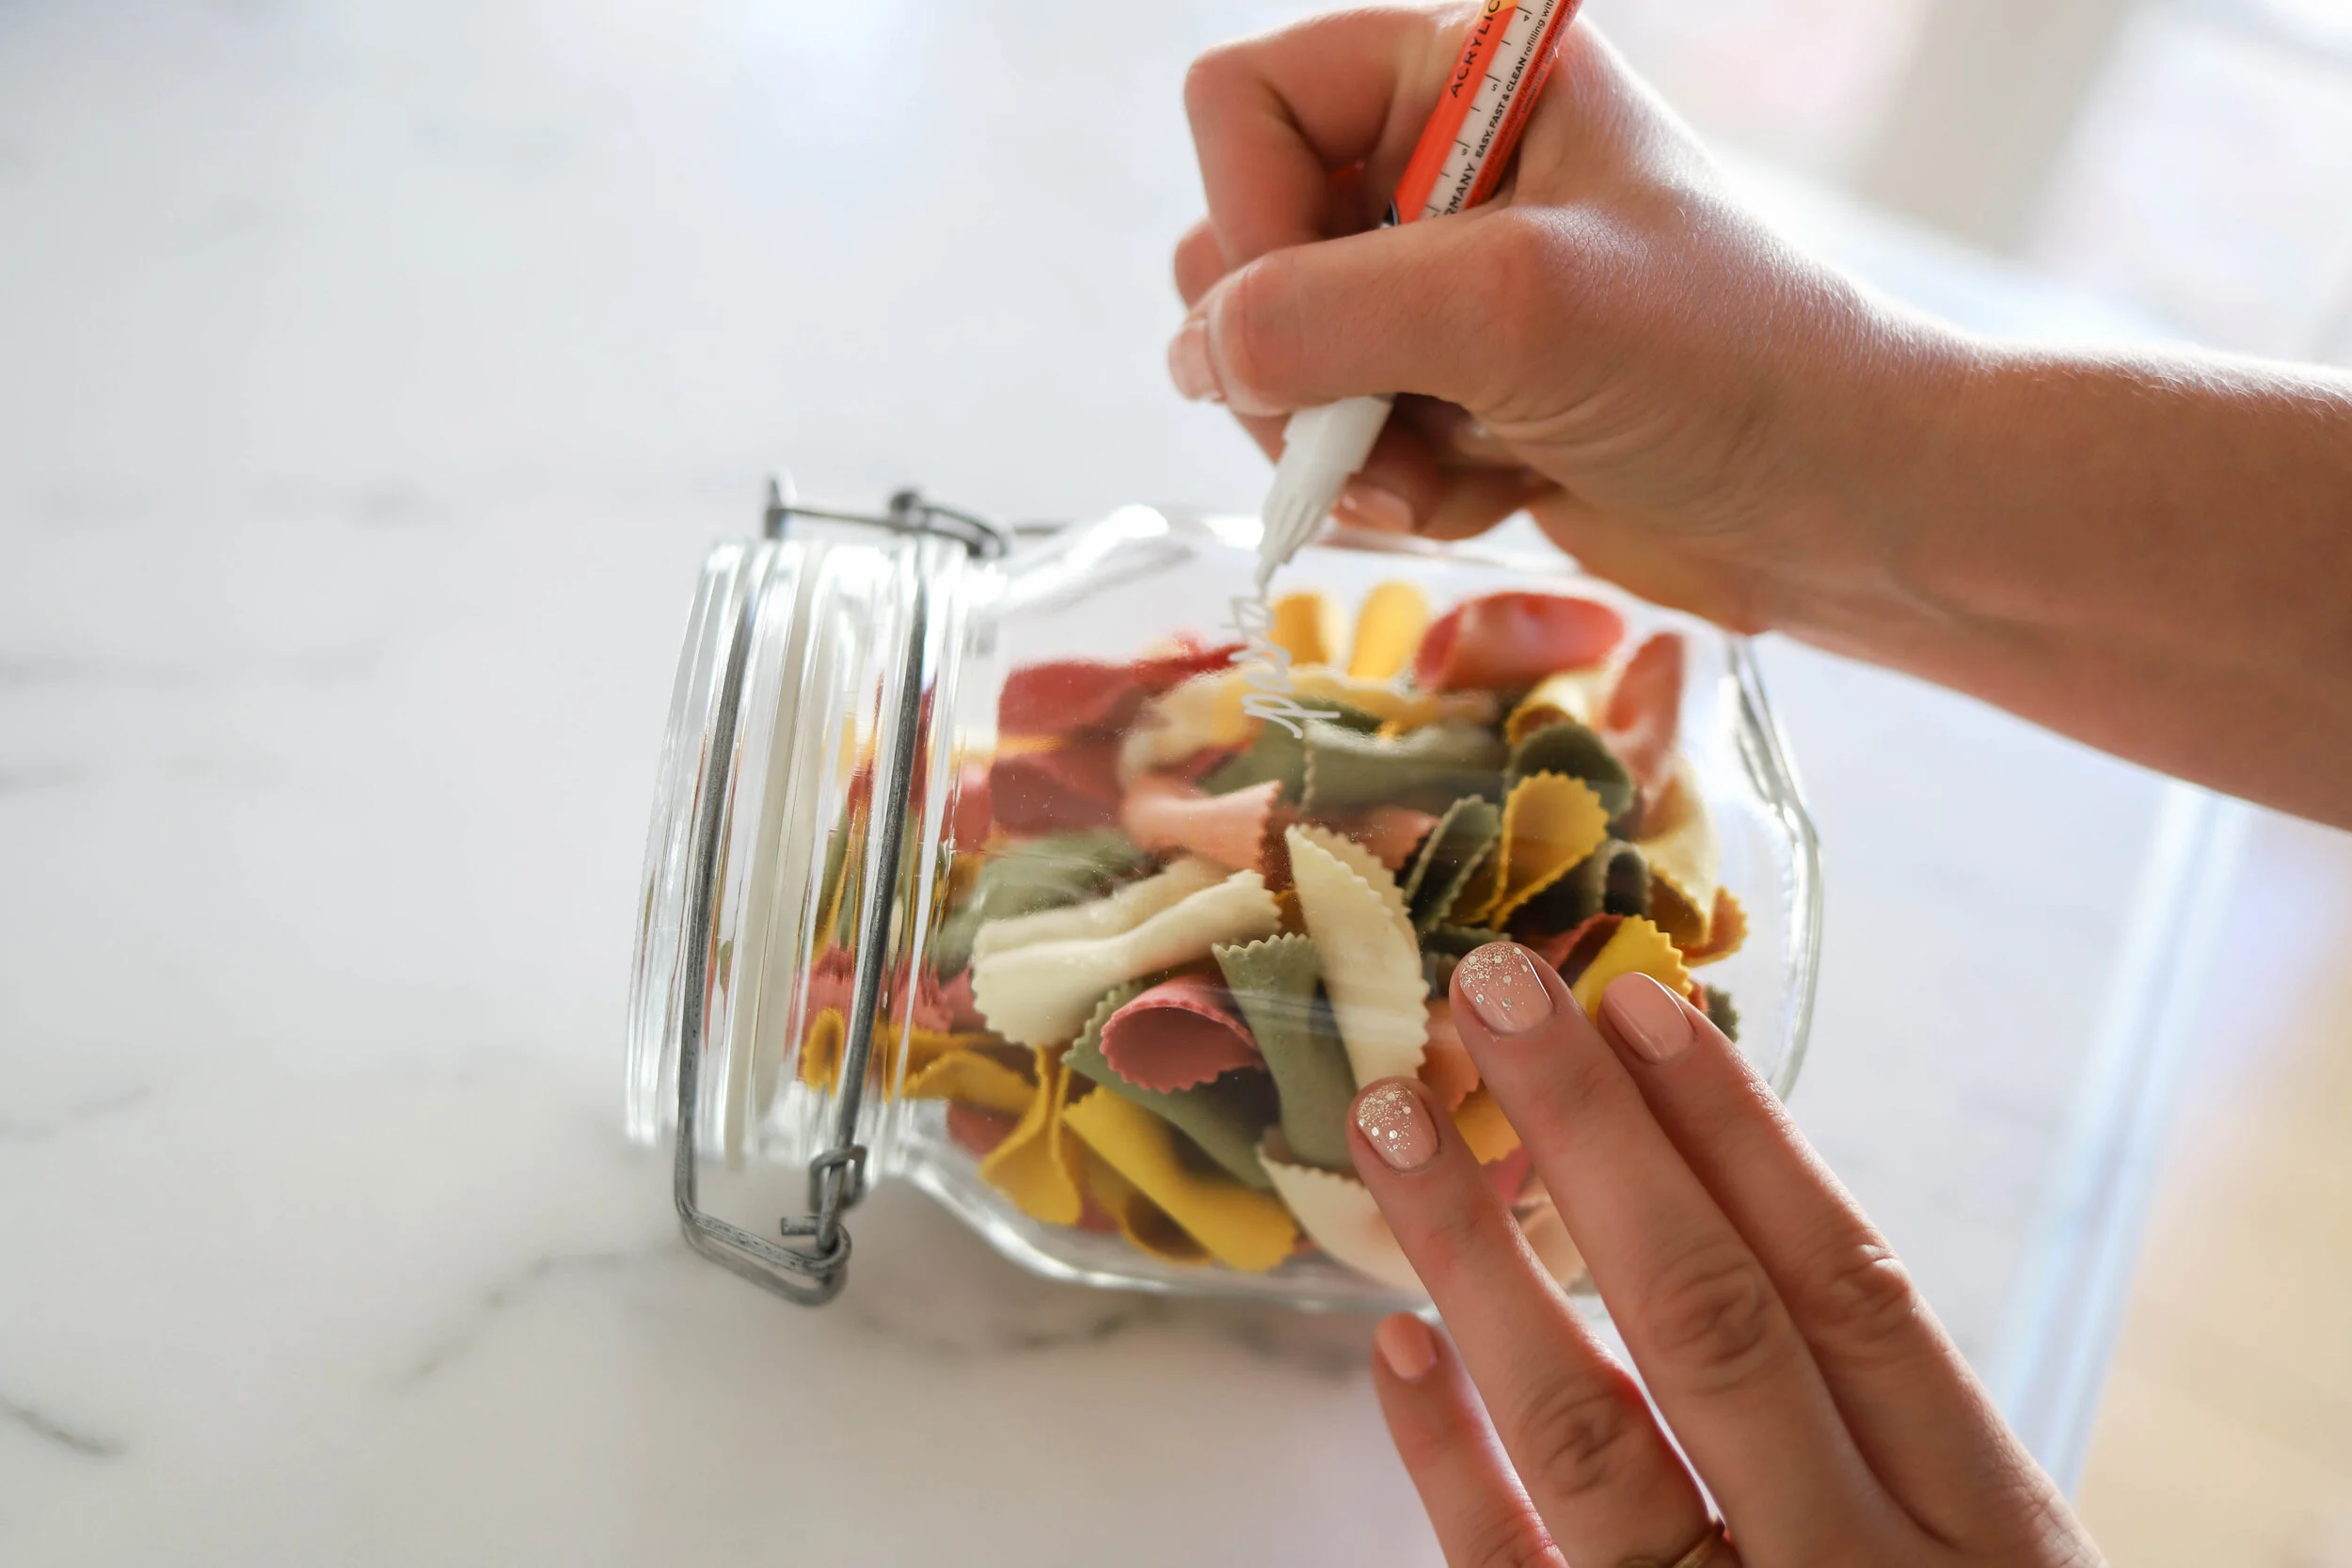
If you have baskets, I like to use a bin clip right on the front. For jars and acrylic bins, I love the look of handwritten paint pen (you can easily remove this with Purell or 100% alcohol). If handwriting isn’t your jam, invest in a label maker or go old school with this Dymo embossing label maker.
STEP 5: You did it! Congrats! You have the pantry you always dreamed of, but now, how do you keep it organized?!
Pantries are like everything in life: they need maintenance. Luckily it’s pretty simple to keep your pantry organized. The main thing you can do is to put things away where they belong. That’s 95% of the job. When you get home from the grocery story, put food in the right zones. If your husband gets a snack, make sure he puts the bag of chips back in the snack area.
Reassess every six months. Toss food that’s gone bad (let go of the guilt and shame associated with this, letting expired food that you’re never going to eat take up precious space isn’t doing you any favors). If your categorizes need some changing, go for it! Sometimes we develop new eating habits, we start cooking at home more, etc. and we need more or less space for a category. Shift things around, re-label, and be flexible! Just because something worked for you last year doesn’t mean it will work this year.
That’s it! Now you have everything you need to organize the sexiest pantry on the block. Thanks for reading and, as always, reach out with any specific organizing questions you have at julianna@spacecamporganizing.com.
And if you’re a superhero and already have an organized pantry, check out this article we’re quoted in on Redfin, with 13 DIY Home Decor projects you can complete in a weekend. Maybe it will spark some great ideas!
xo,
Julianna


