The Beauty of Working Backwards (with Bre Chiero of Hungry Hipsters)

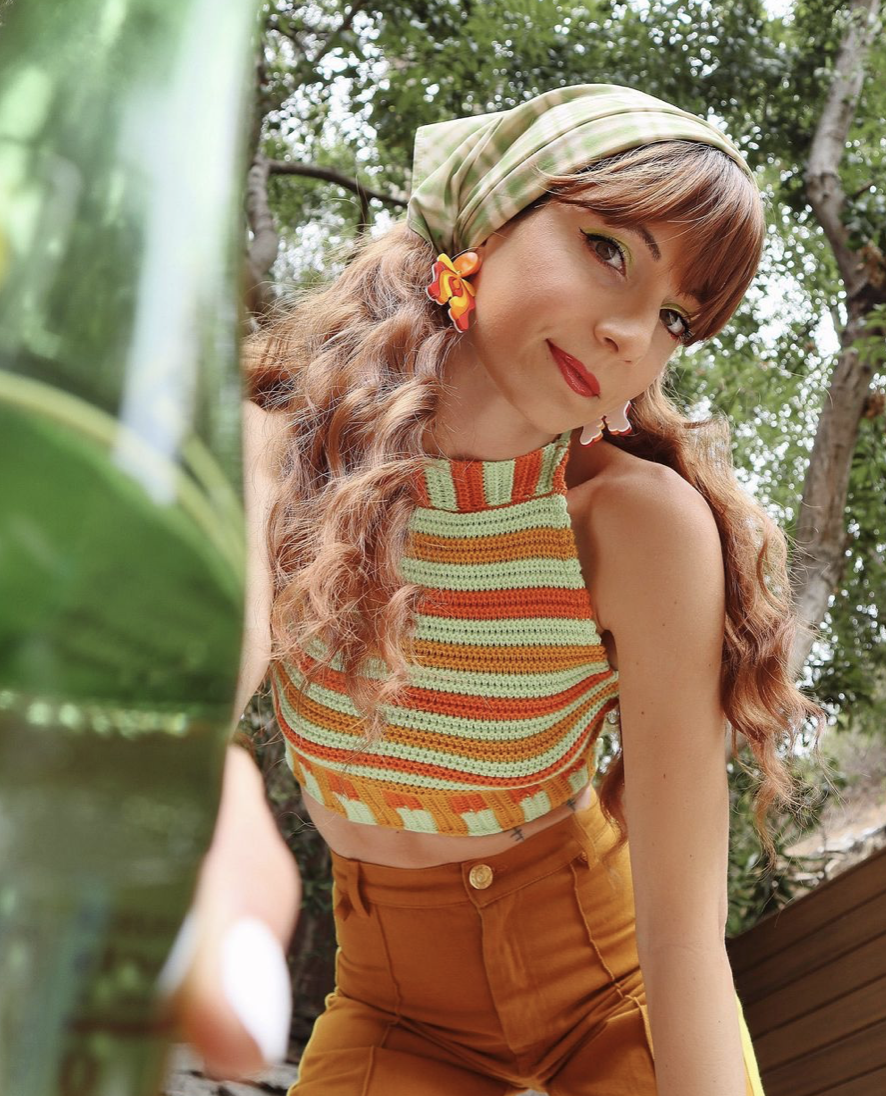
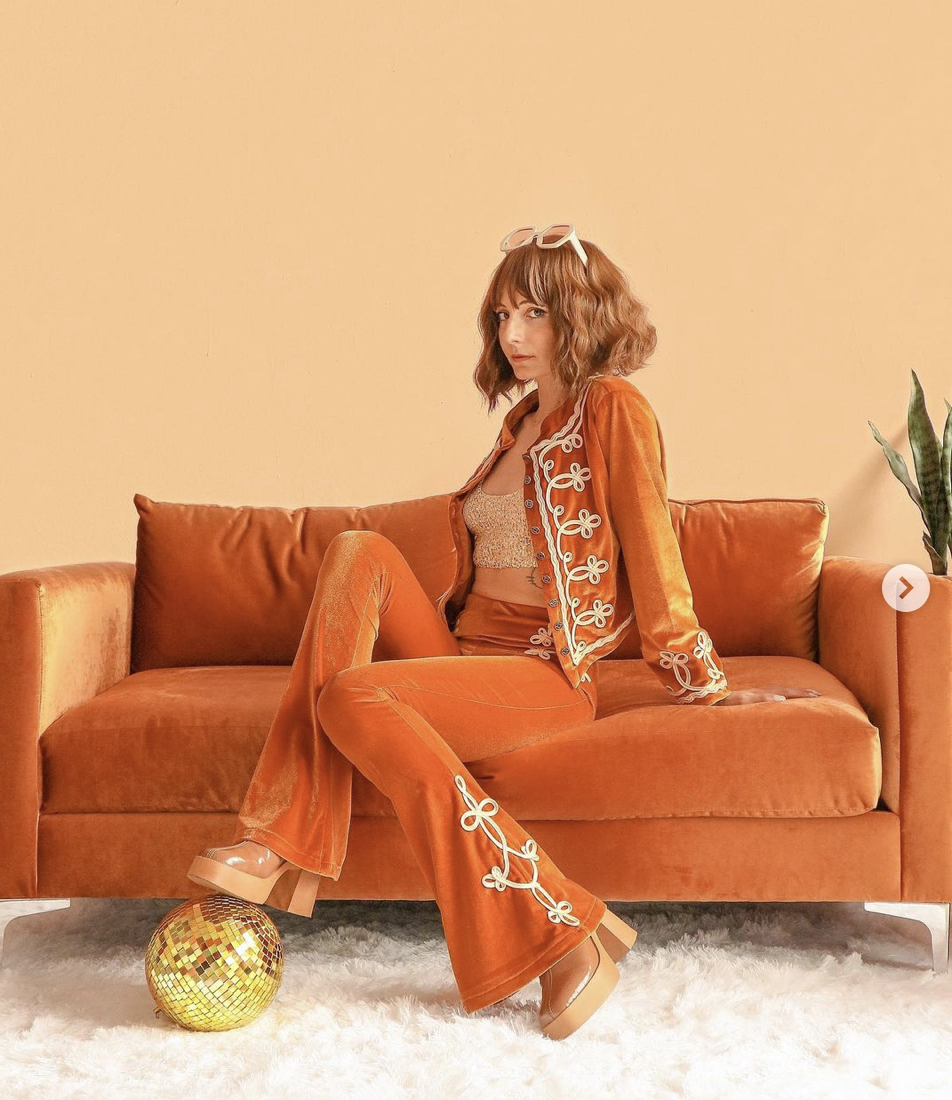
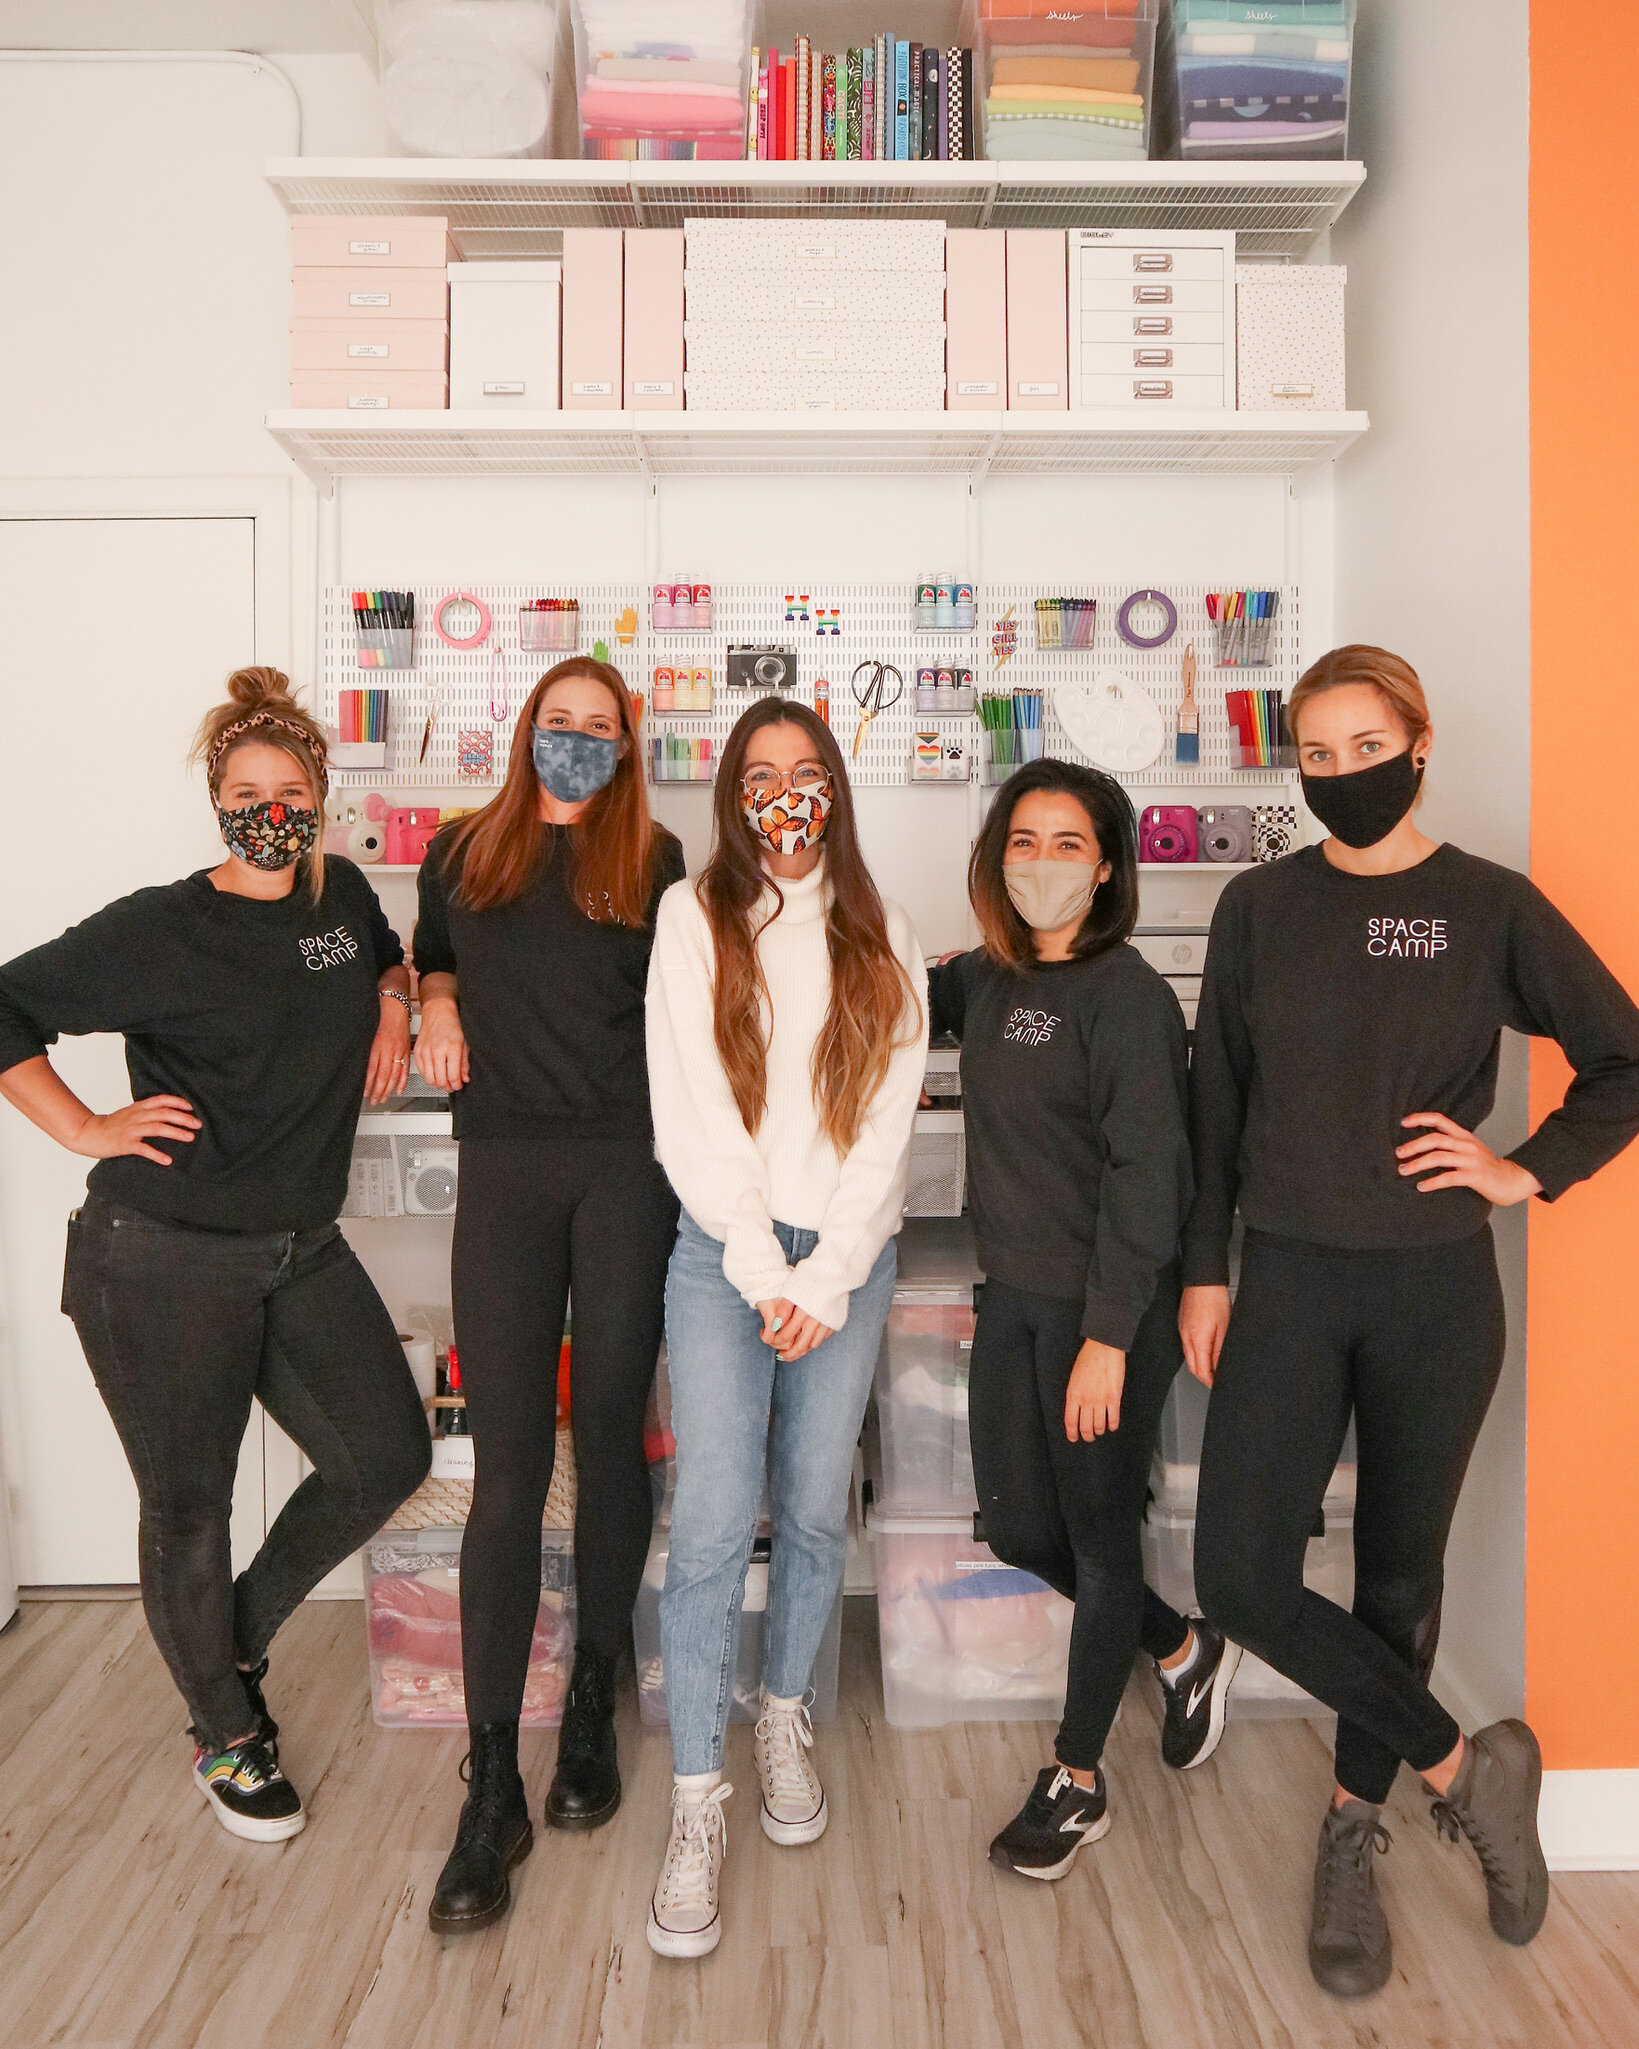
Photo by Juliana Slemenda
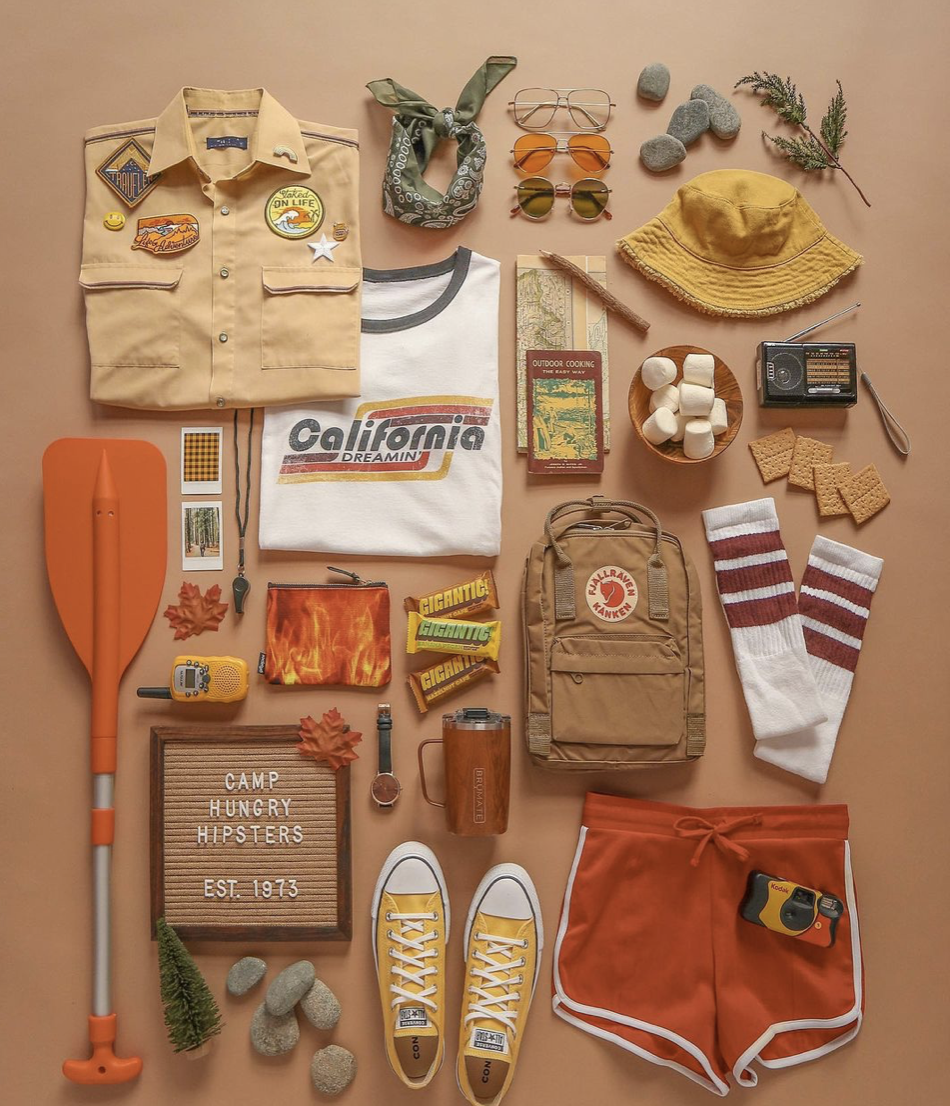
It’s hard to know exactly how to define Bre Chiero. She’s a gifted photographer who’s also an art director and a stylist (to name a few of her many skills). When she reached out to me in October of 2020 to schedule a consultation to organize her studio space, I looked up her Hungry Hipsters Instagram account and was stunned; Bre’s feed is truly a work of art. Her use of color, her intricate flat lays, her unique styling -- I was incredibly impressed and immediately became a superfan.

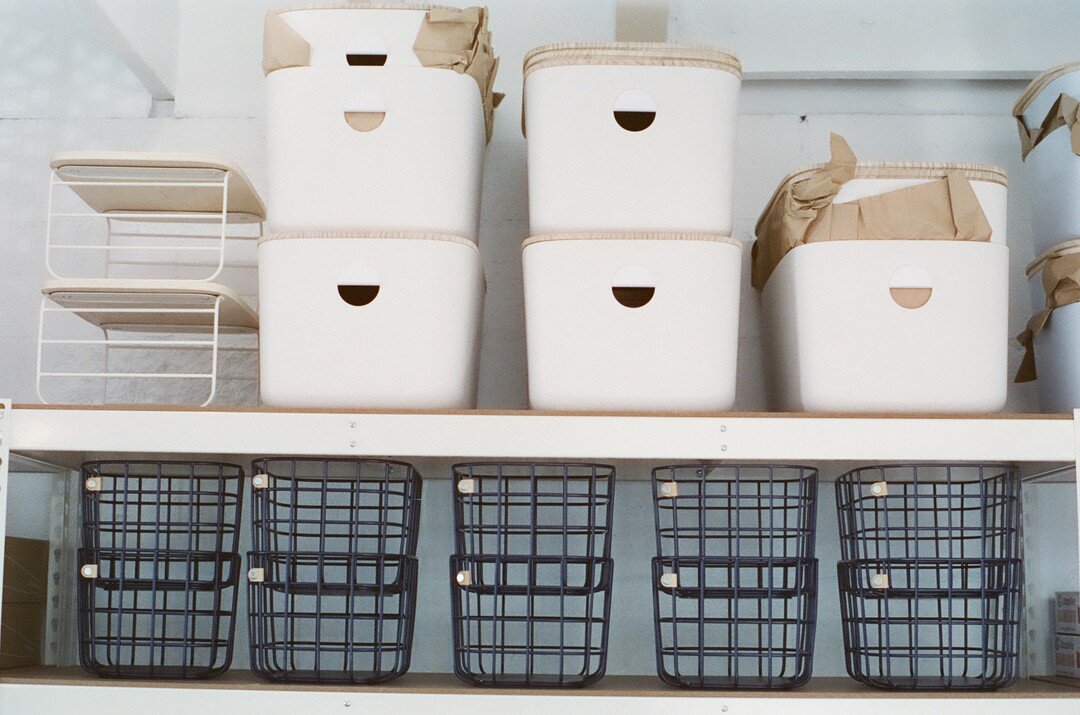
When I visited Bre later that week, she was working out of a studio lined with stacks of plastic garage totes.
And here’s the thing, at first glance Bre was technically organized. Each tote was labeled and numbered and had a list of the contents taped to the outside. But even with this level of detail and documentation, the system wasn’t working for her. The boxes were stacked so high she rarely wanted to go to the trouble to get to the ones on the bottom. Then, once she did open up the appropriate box, finding the tiny item she needed (or in the case of her intricate flatlays, the tiny 30-40 items she needed) could quite literally take her all day.

While this situation may sound unique to someone with Bre’s particular line of work, if we take a step back, I think most of us can relate to her predicament. We all instinctively try to create the best system of organization we can, but to varying levels of success or failure, it often still doesn’t work. In that case, what’s next?
My philosophy: to identify an ideal organization system, sometimes you have to start at the end and work your way backwards.
Let me explain. Organizing systems are never one-size-fits all solutions. Everyone has different needs and goals for their spaces, and to identify those we need to start by envisioning the final, completed space.
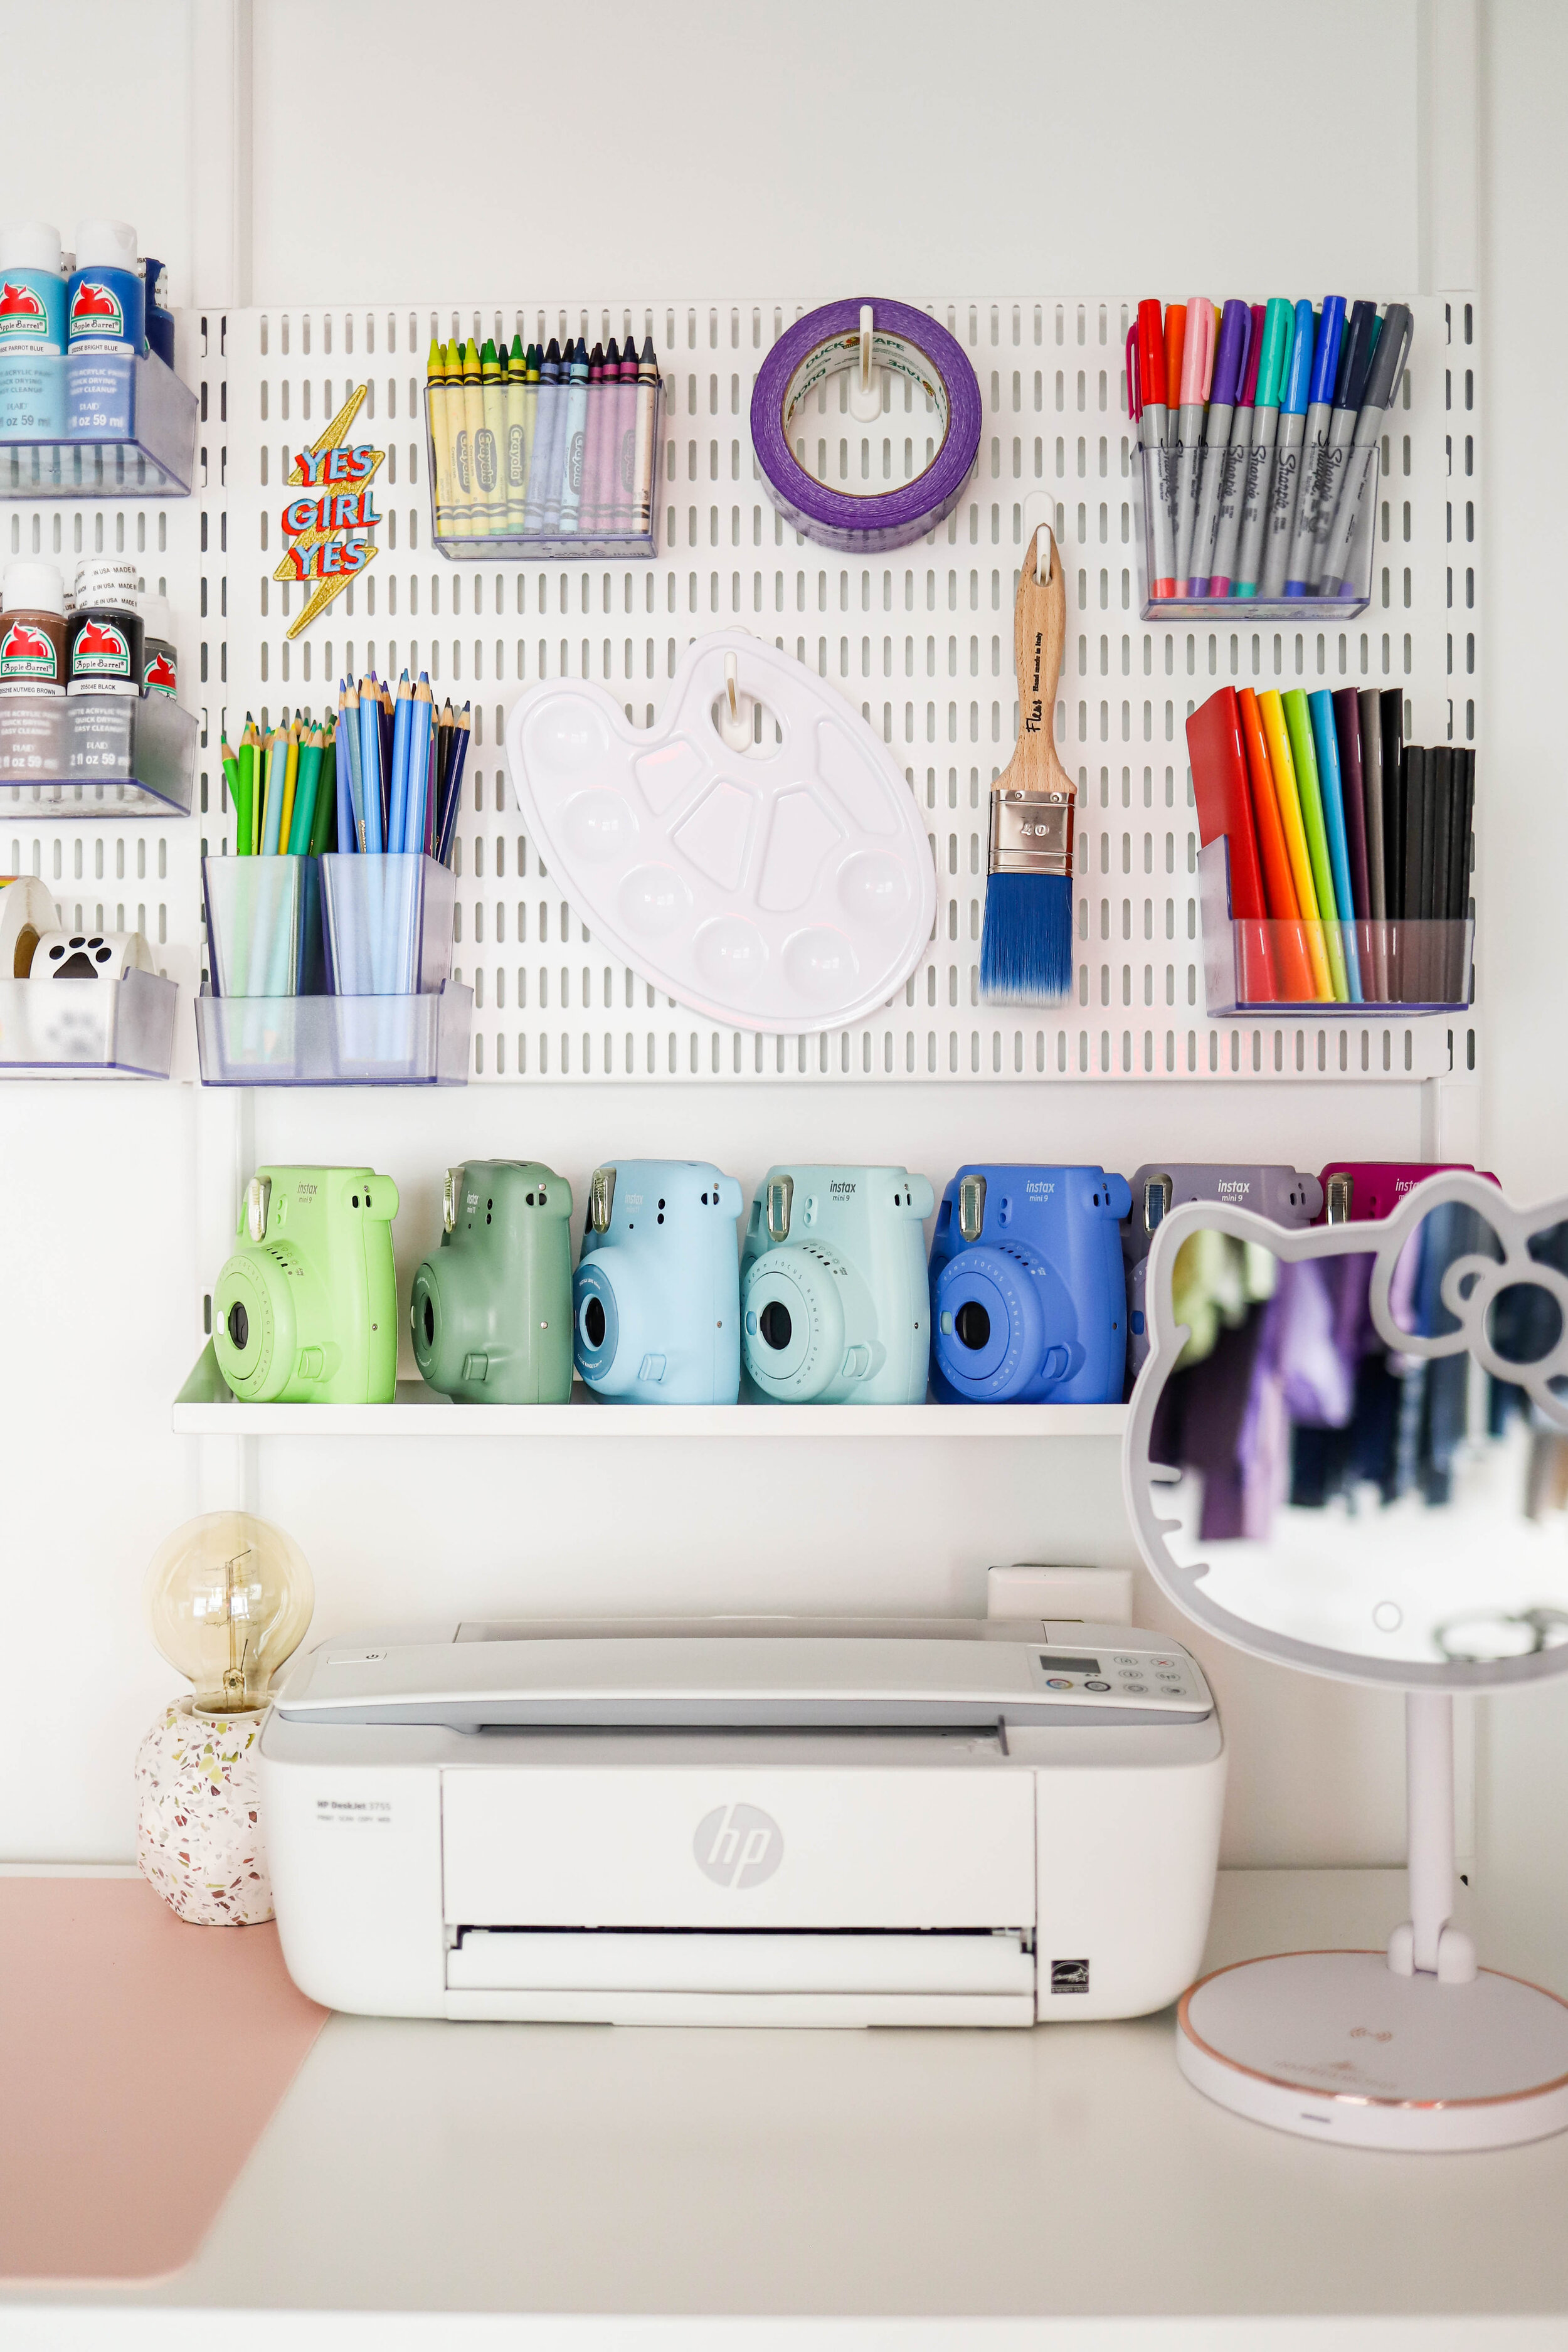
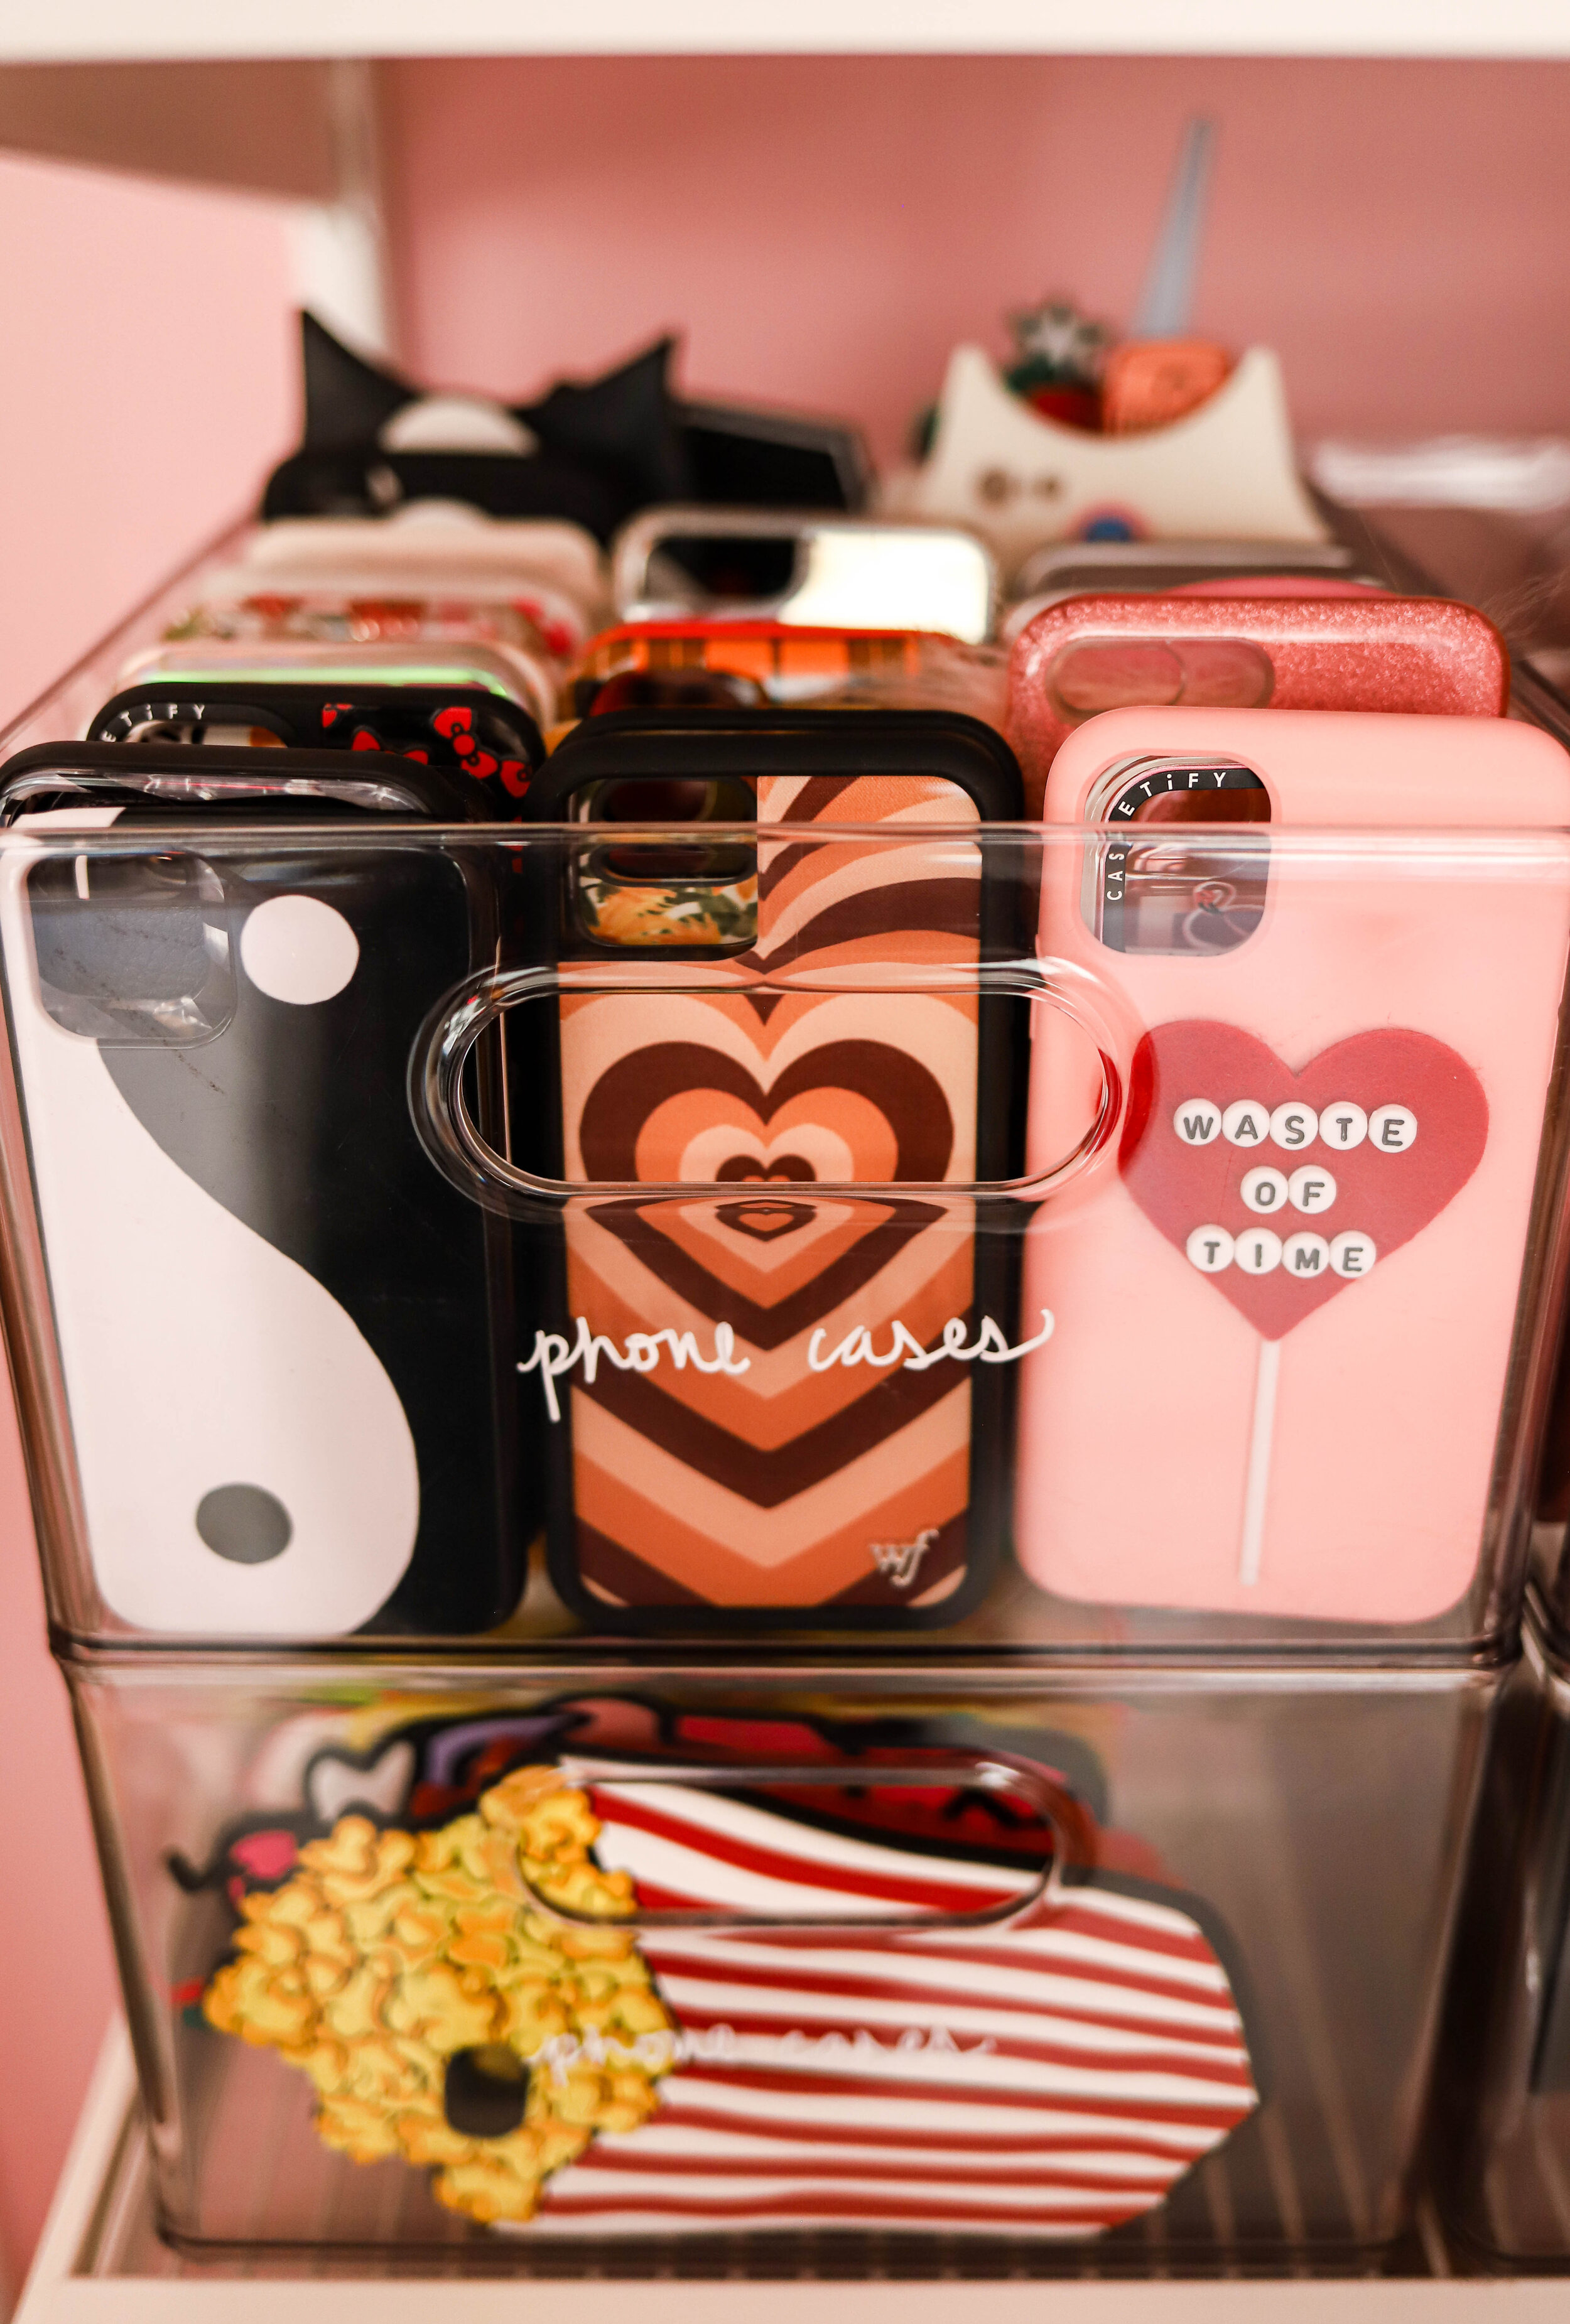
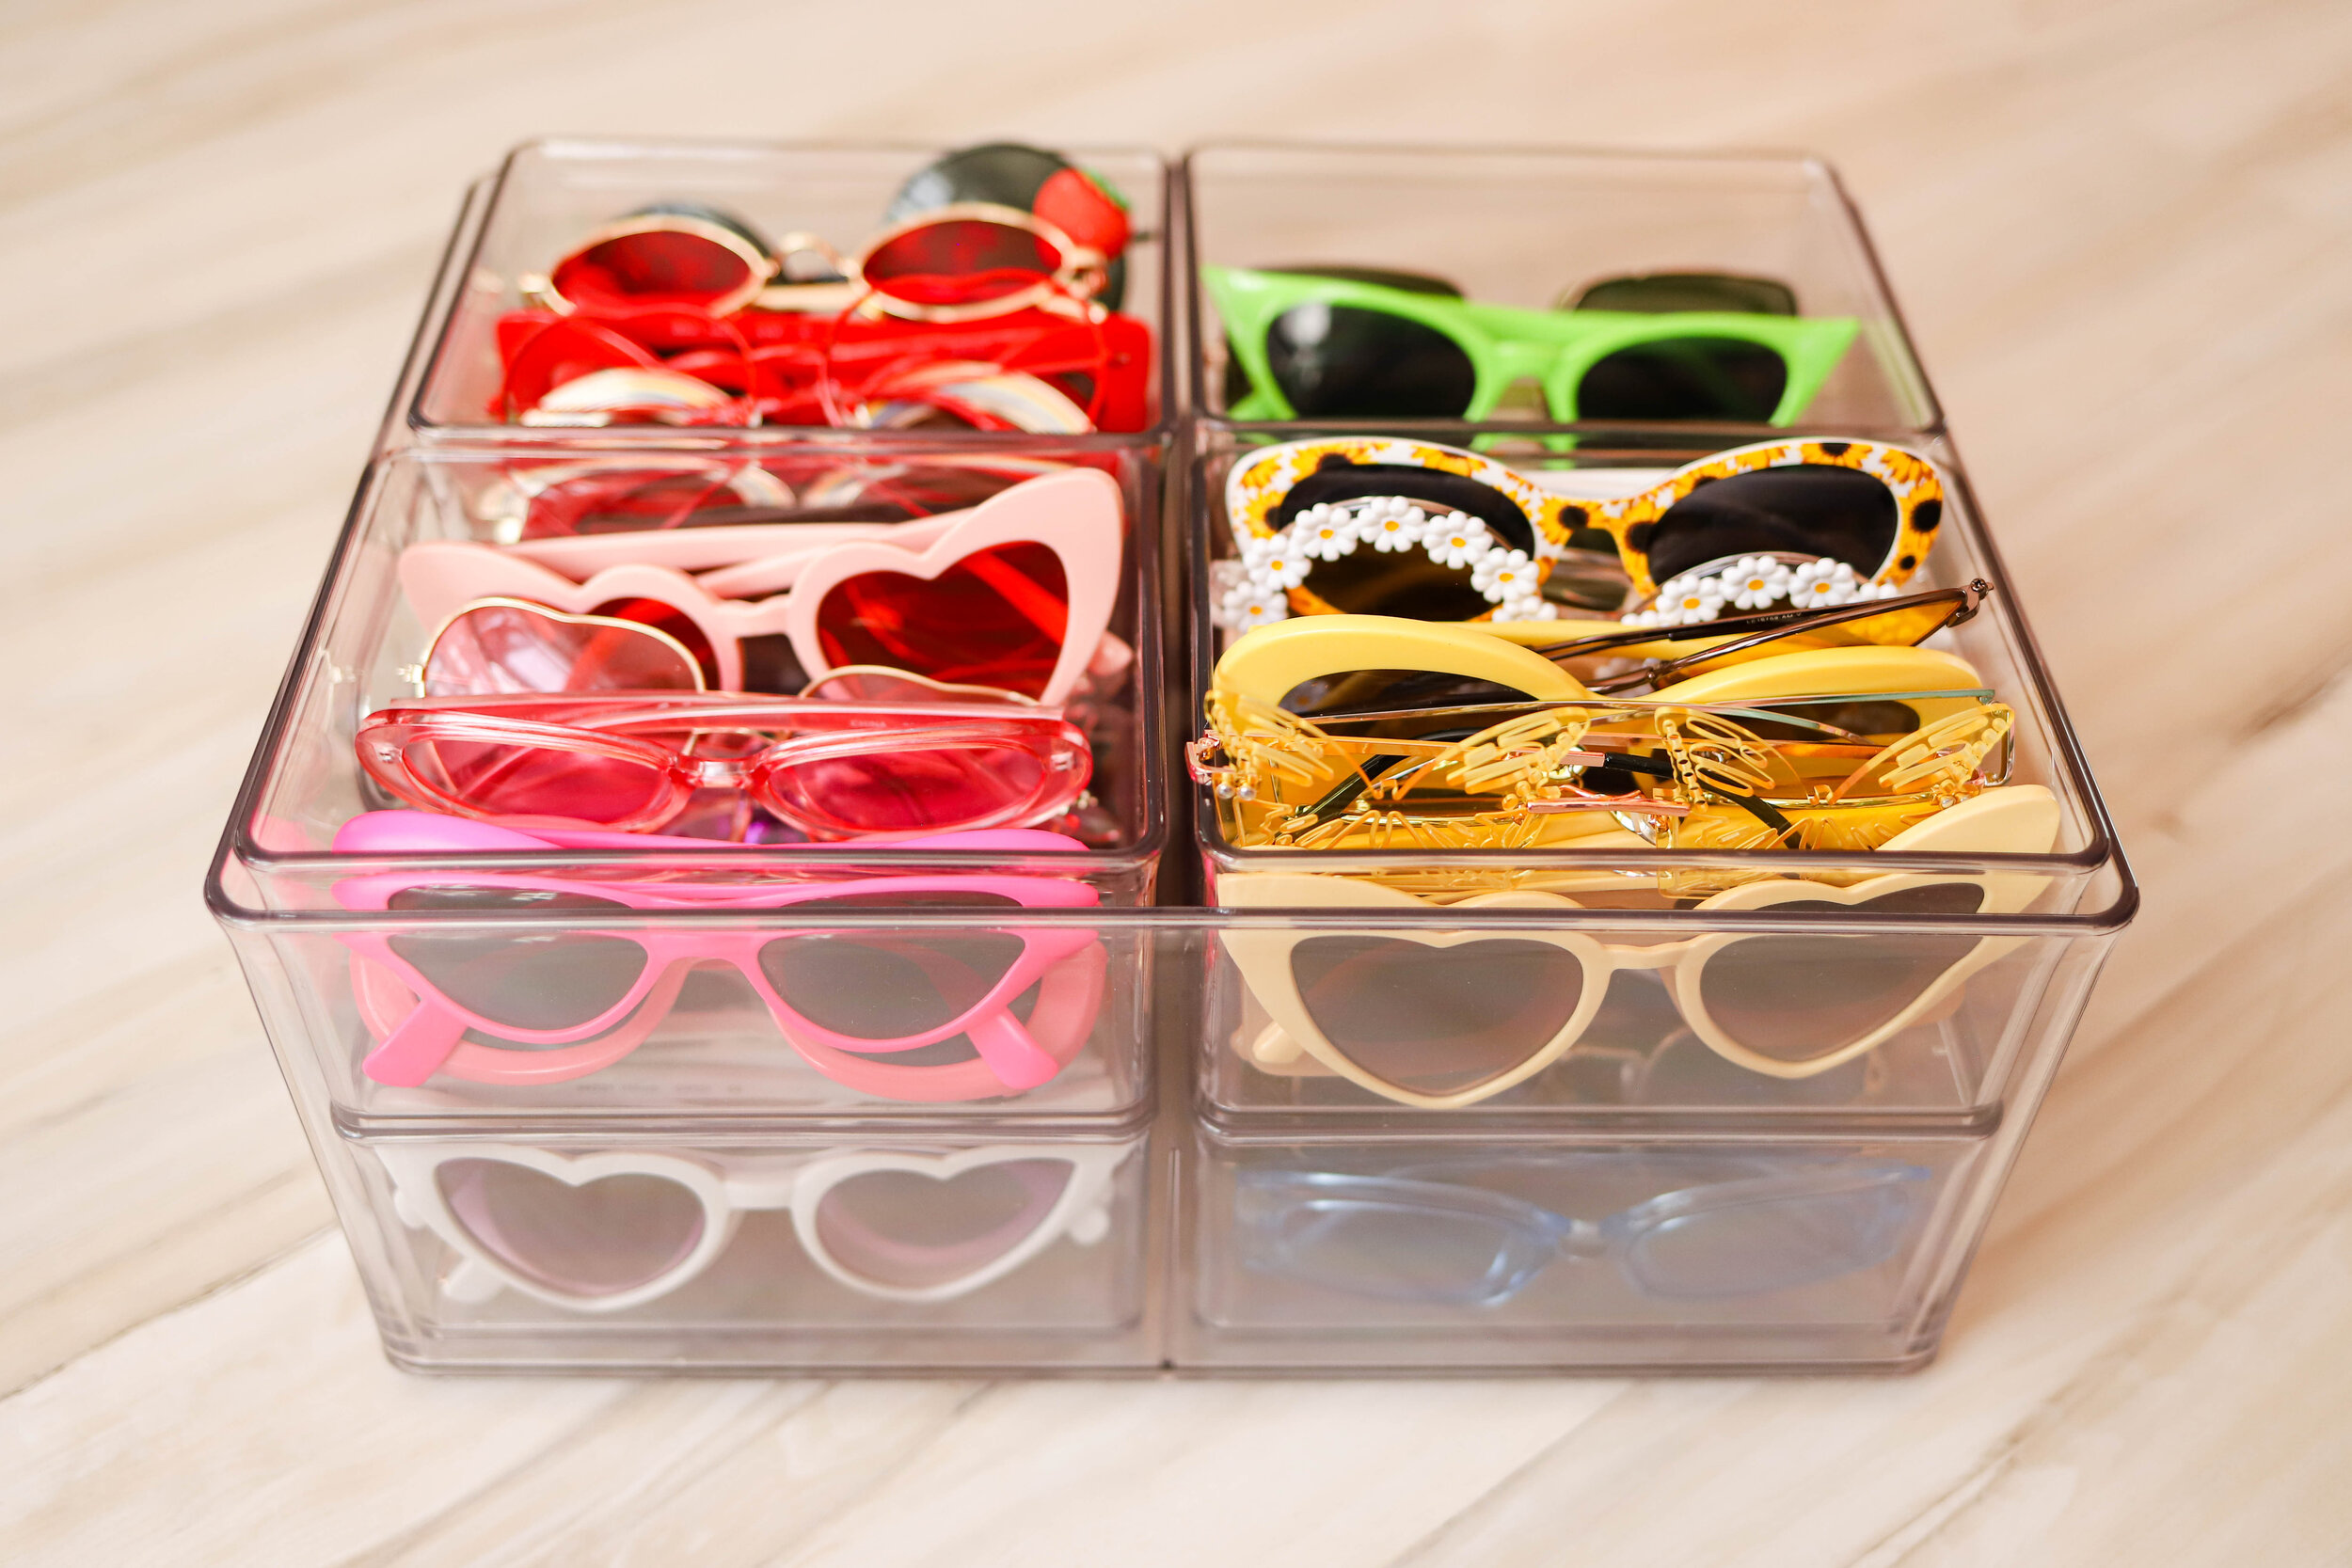
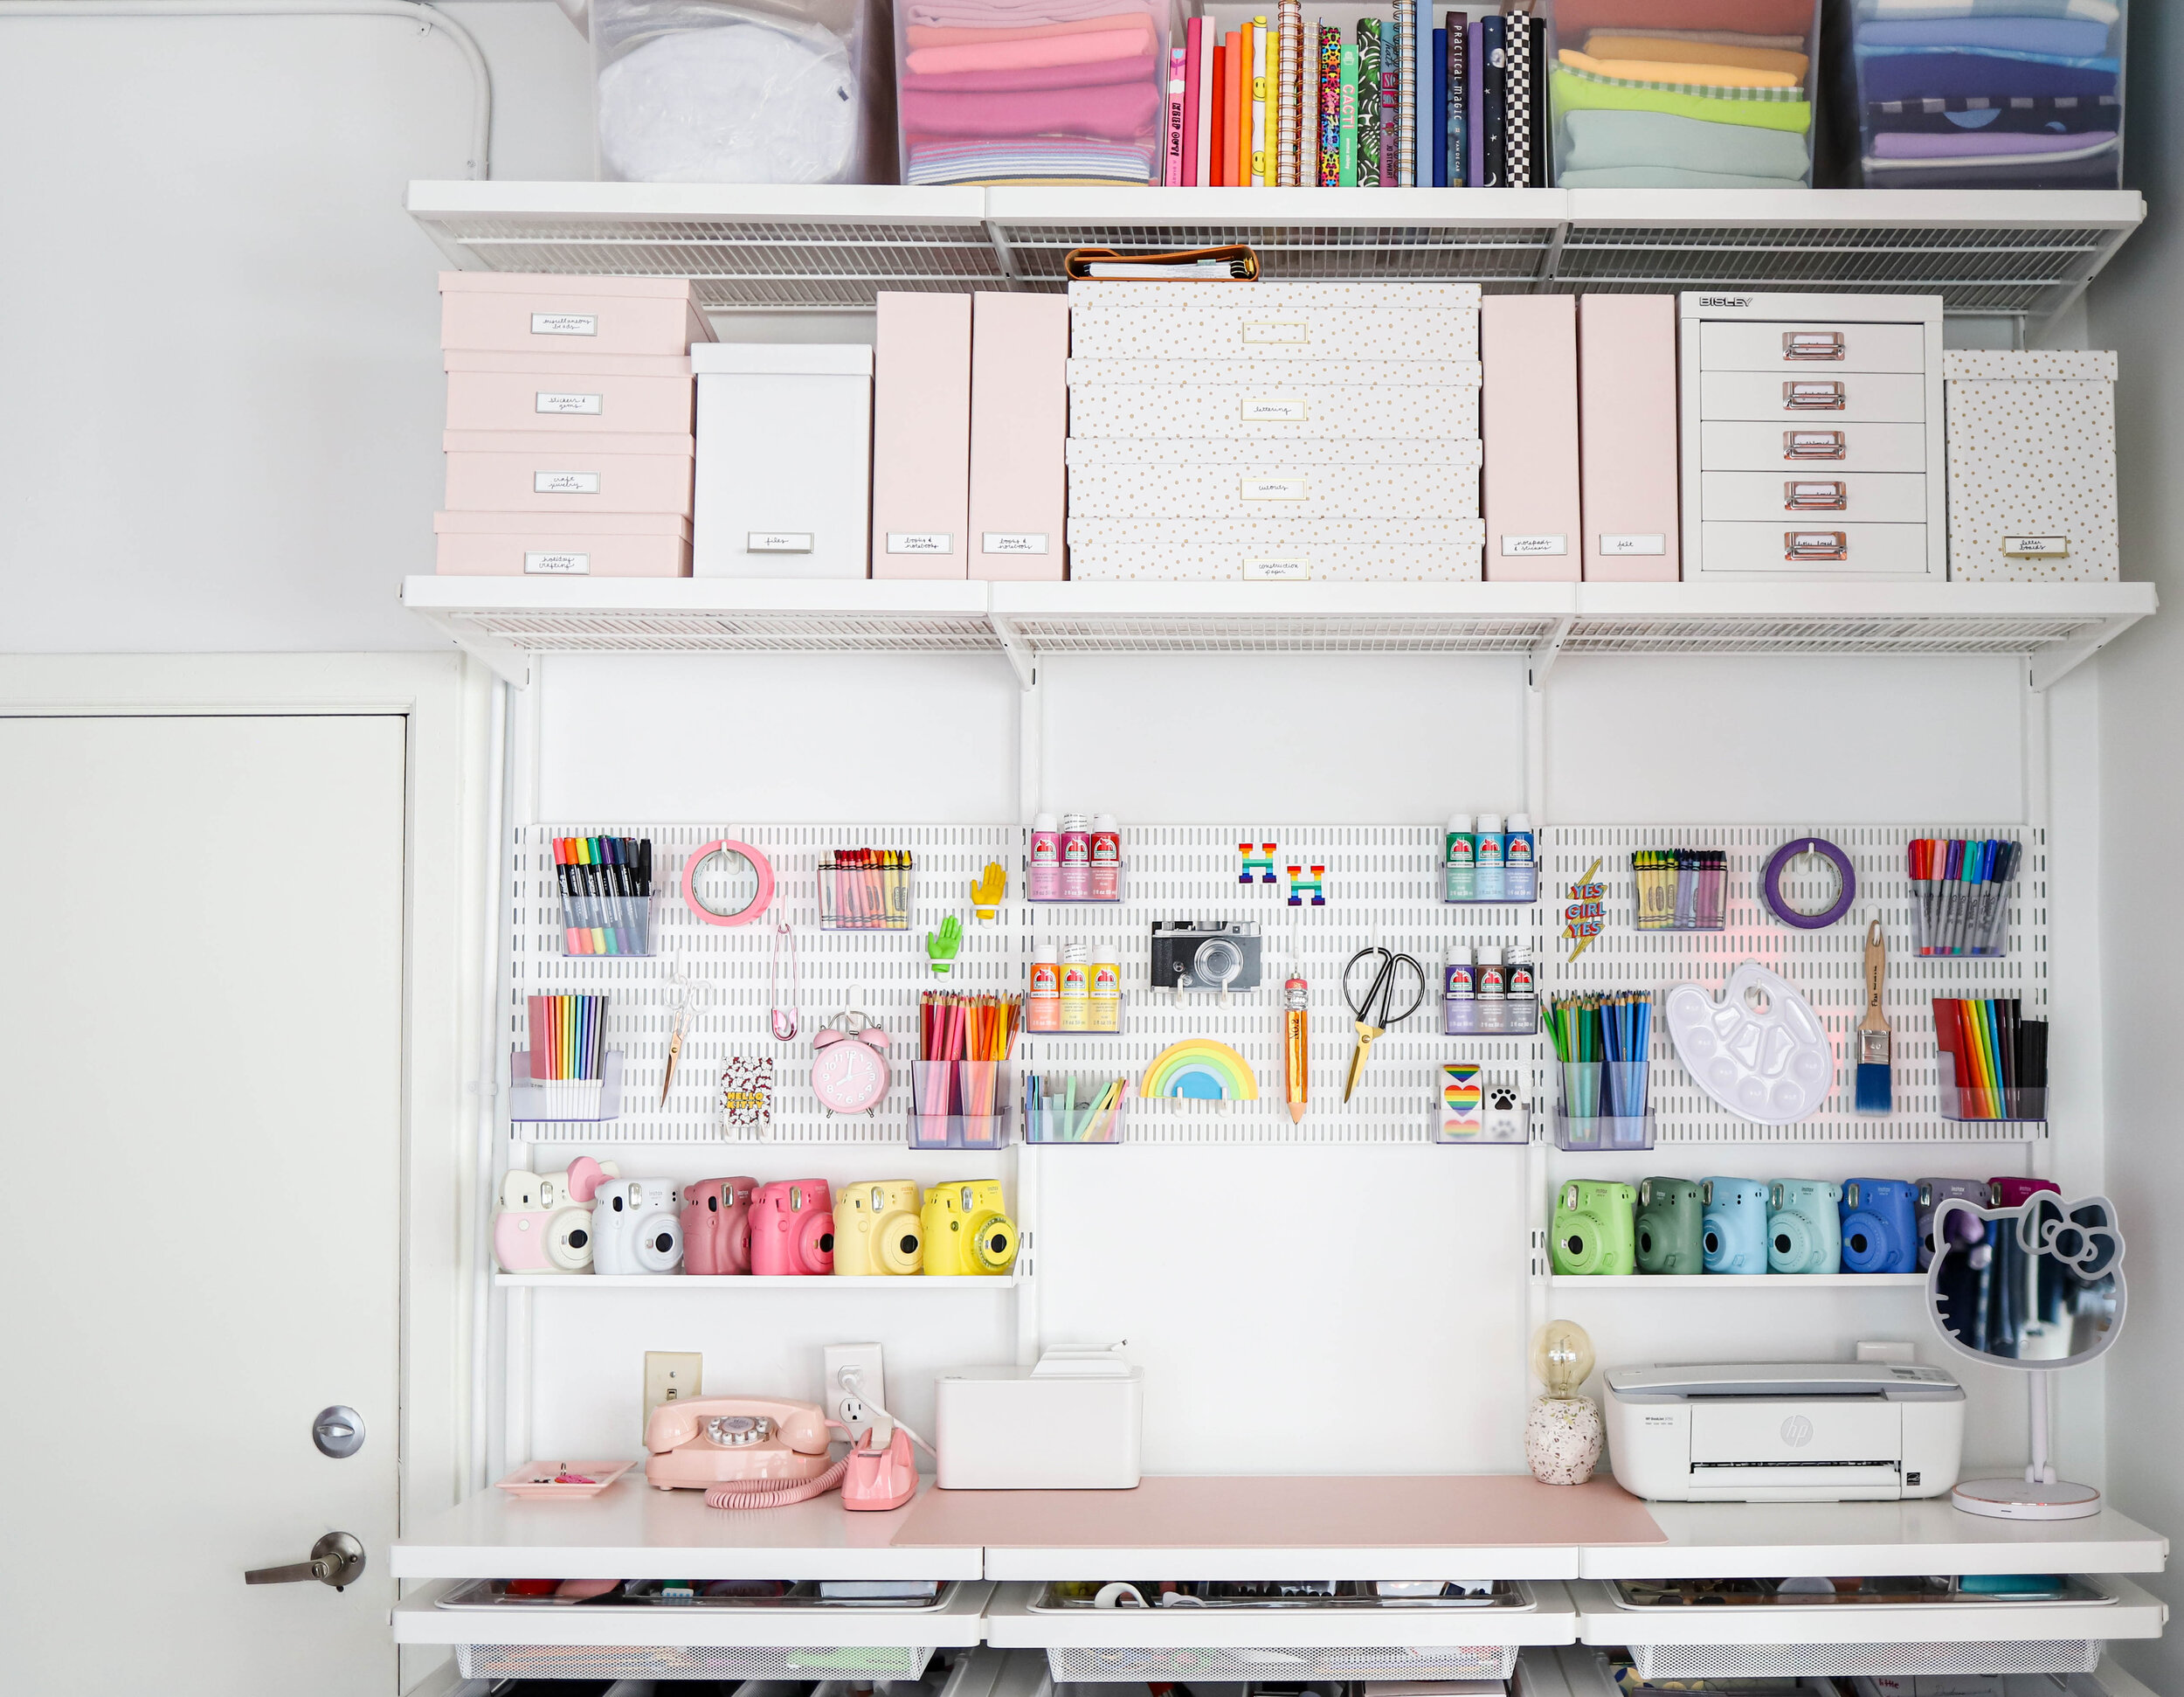
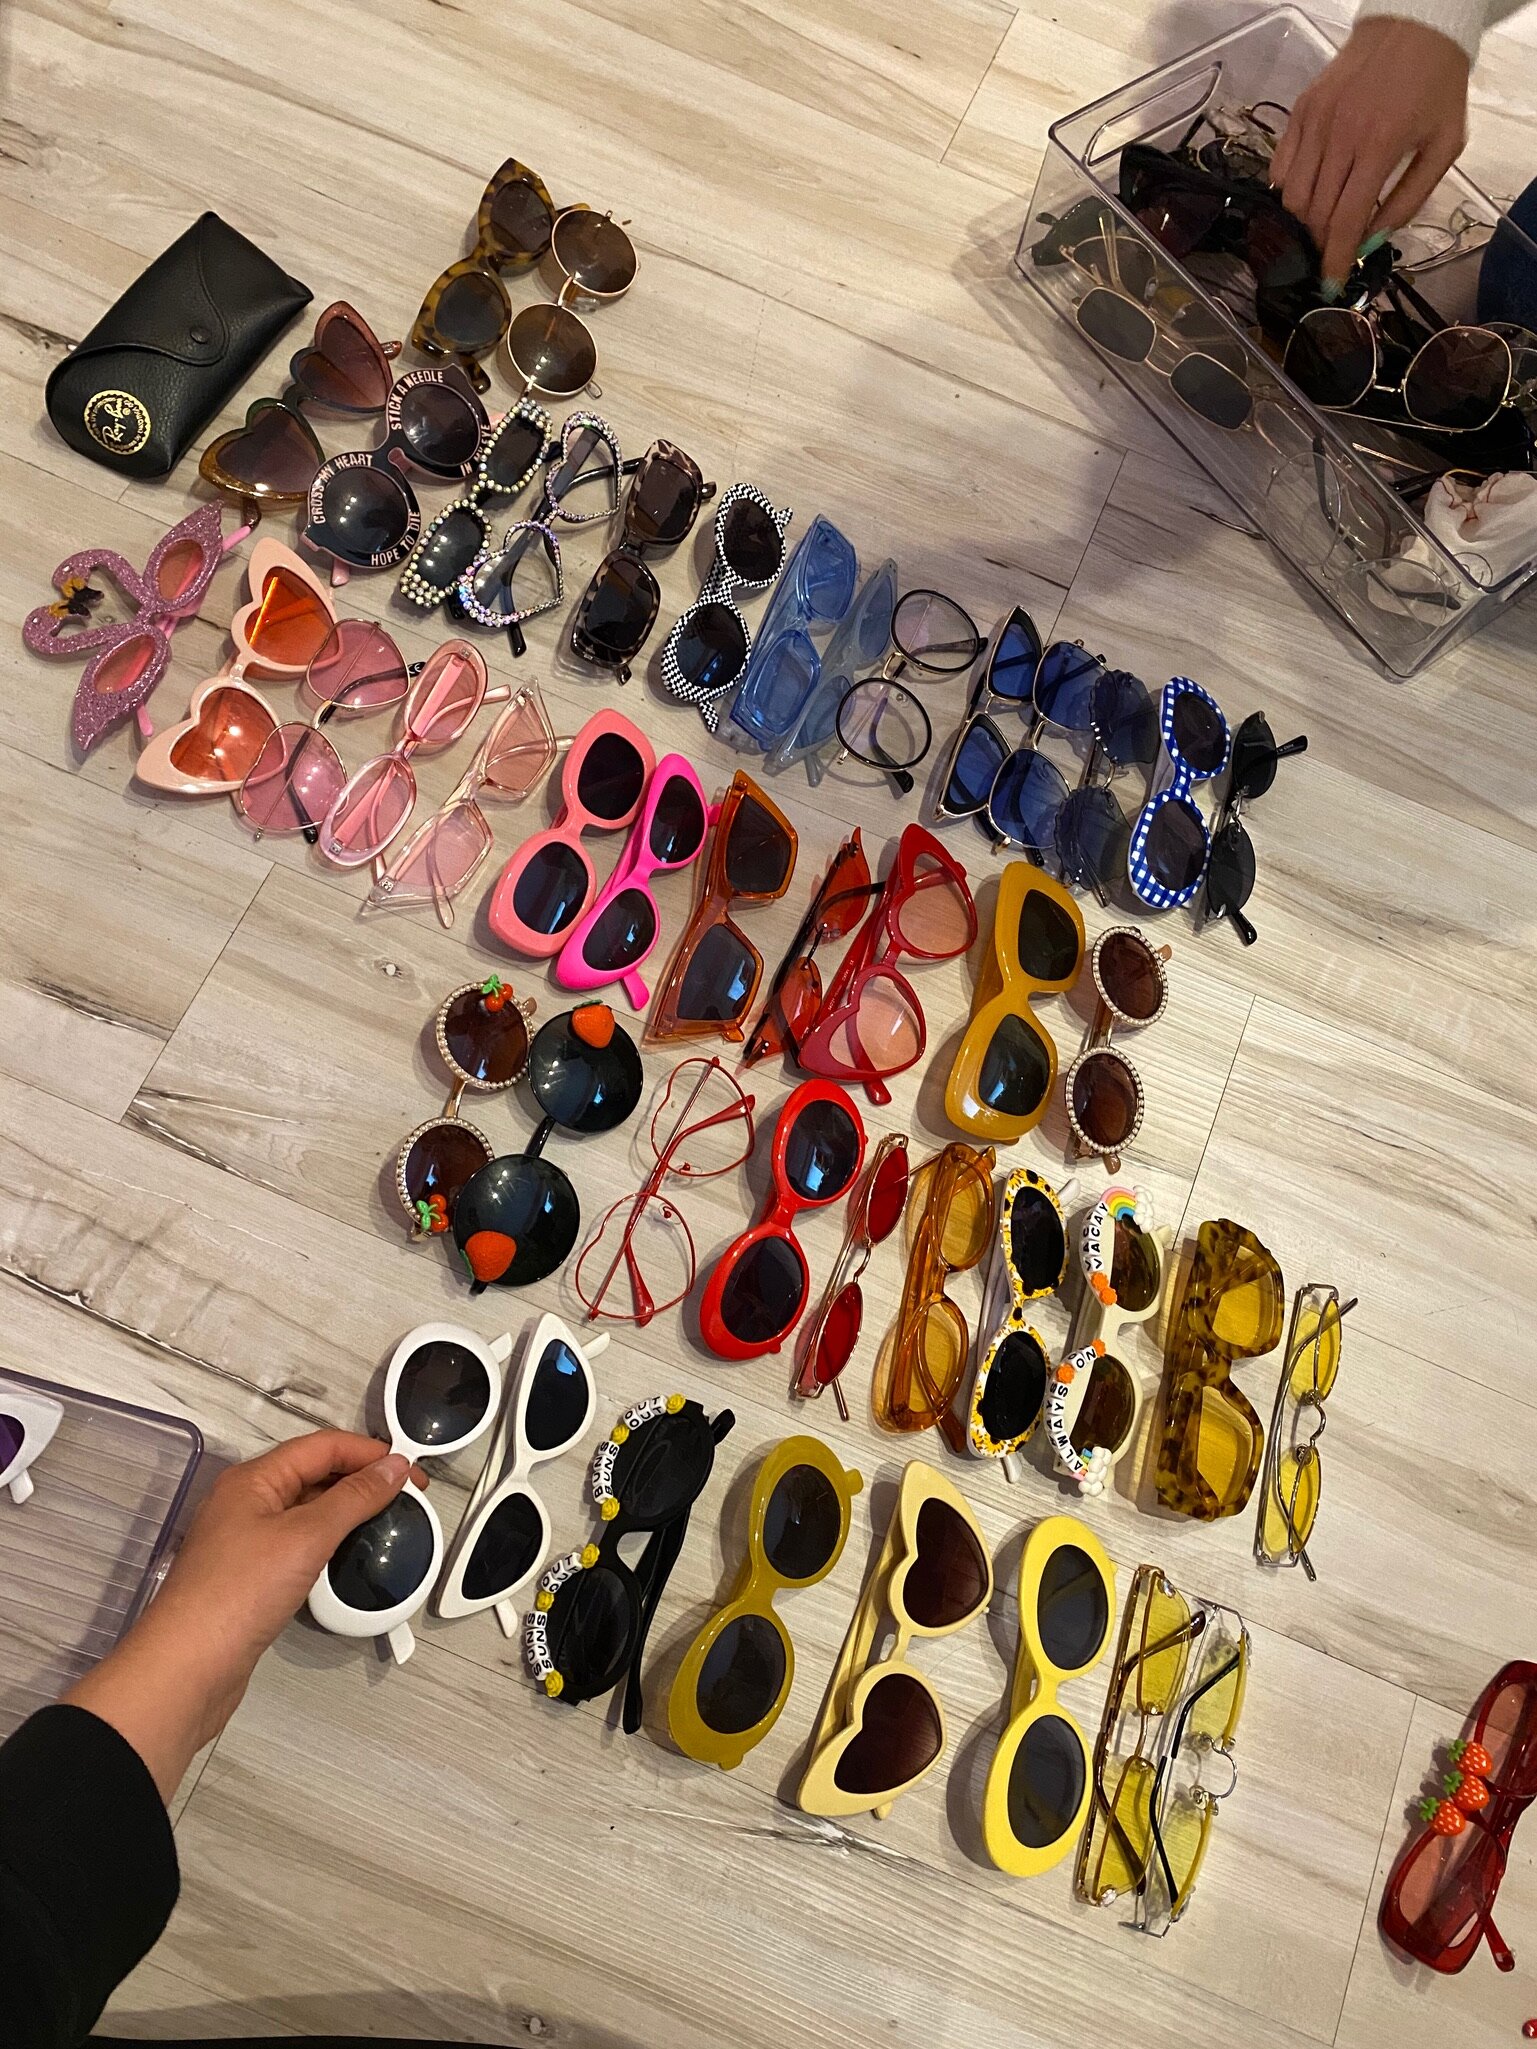
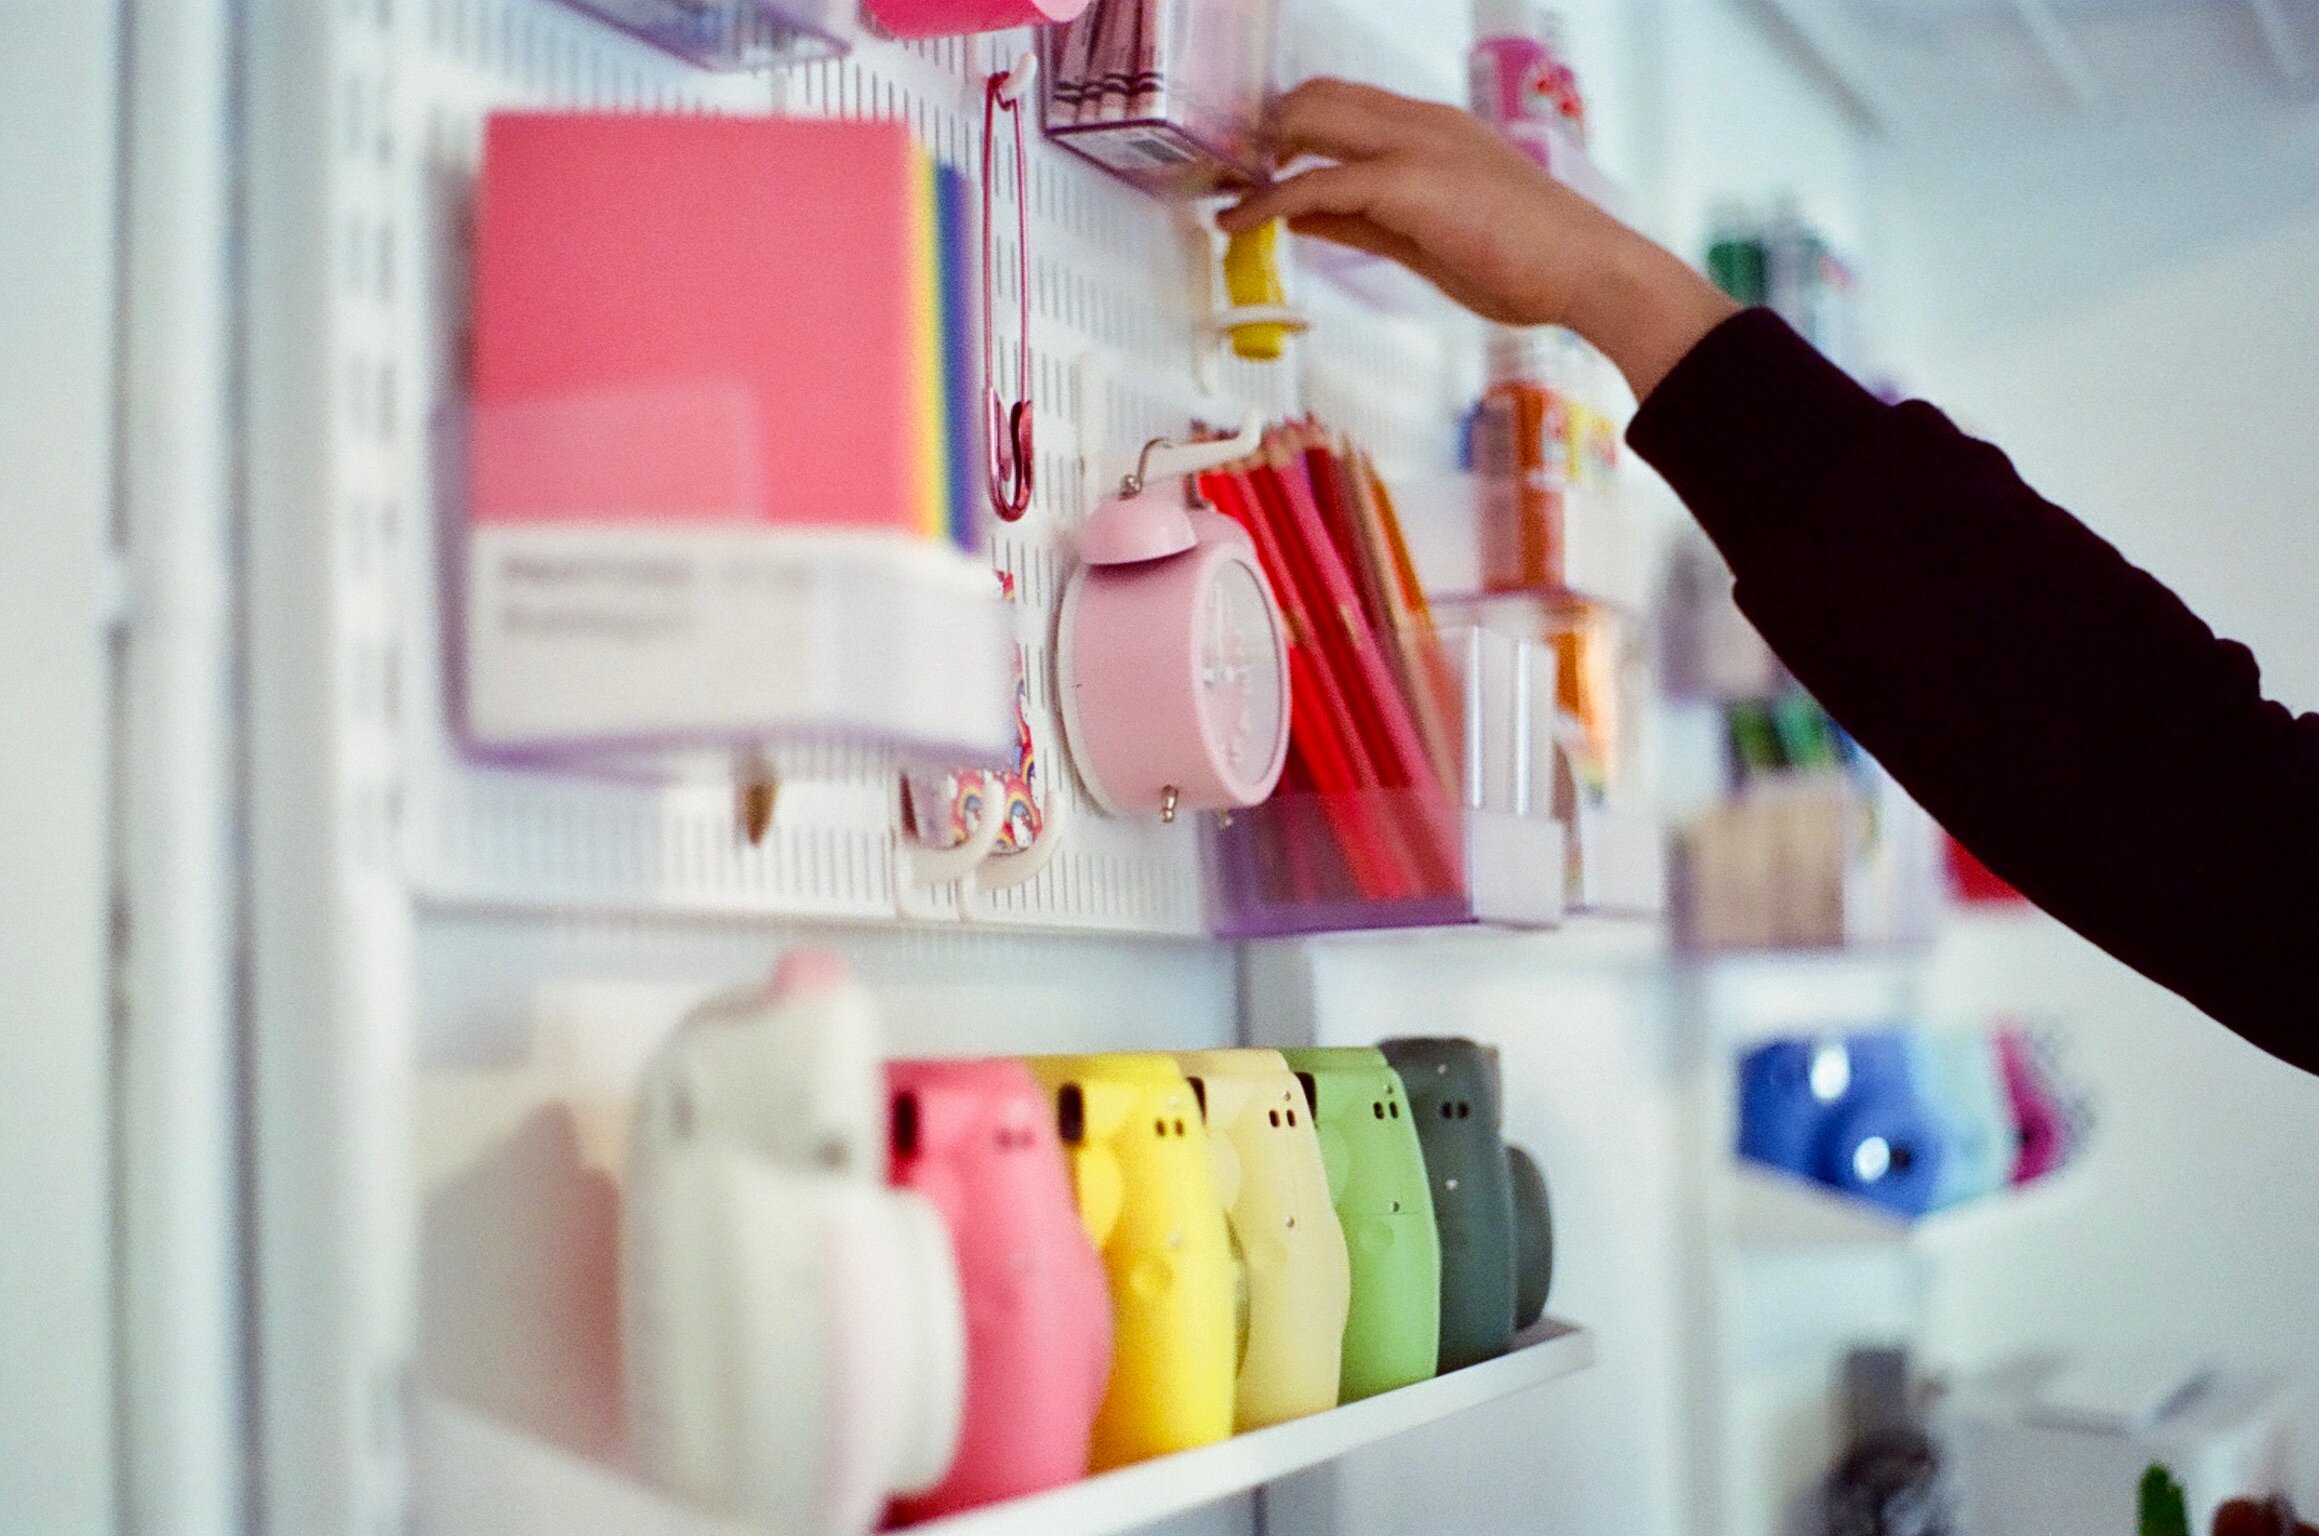
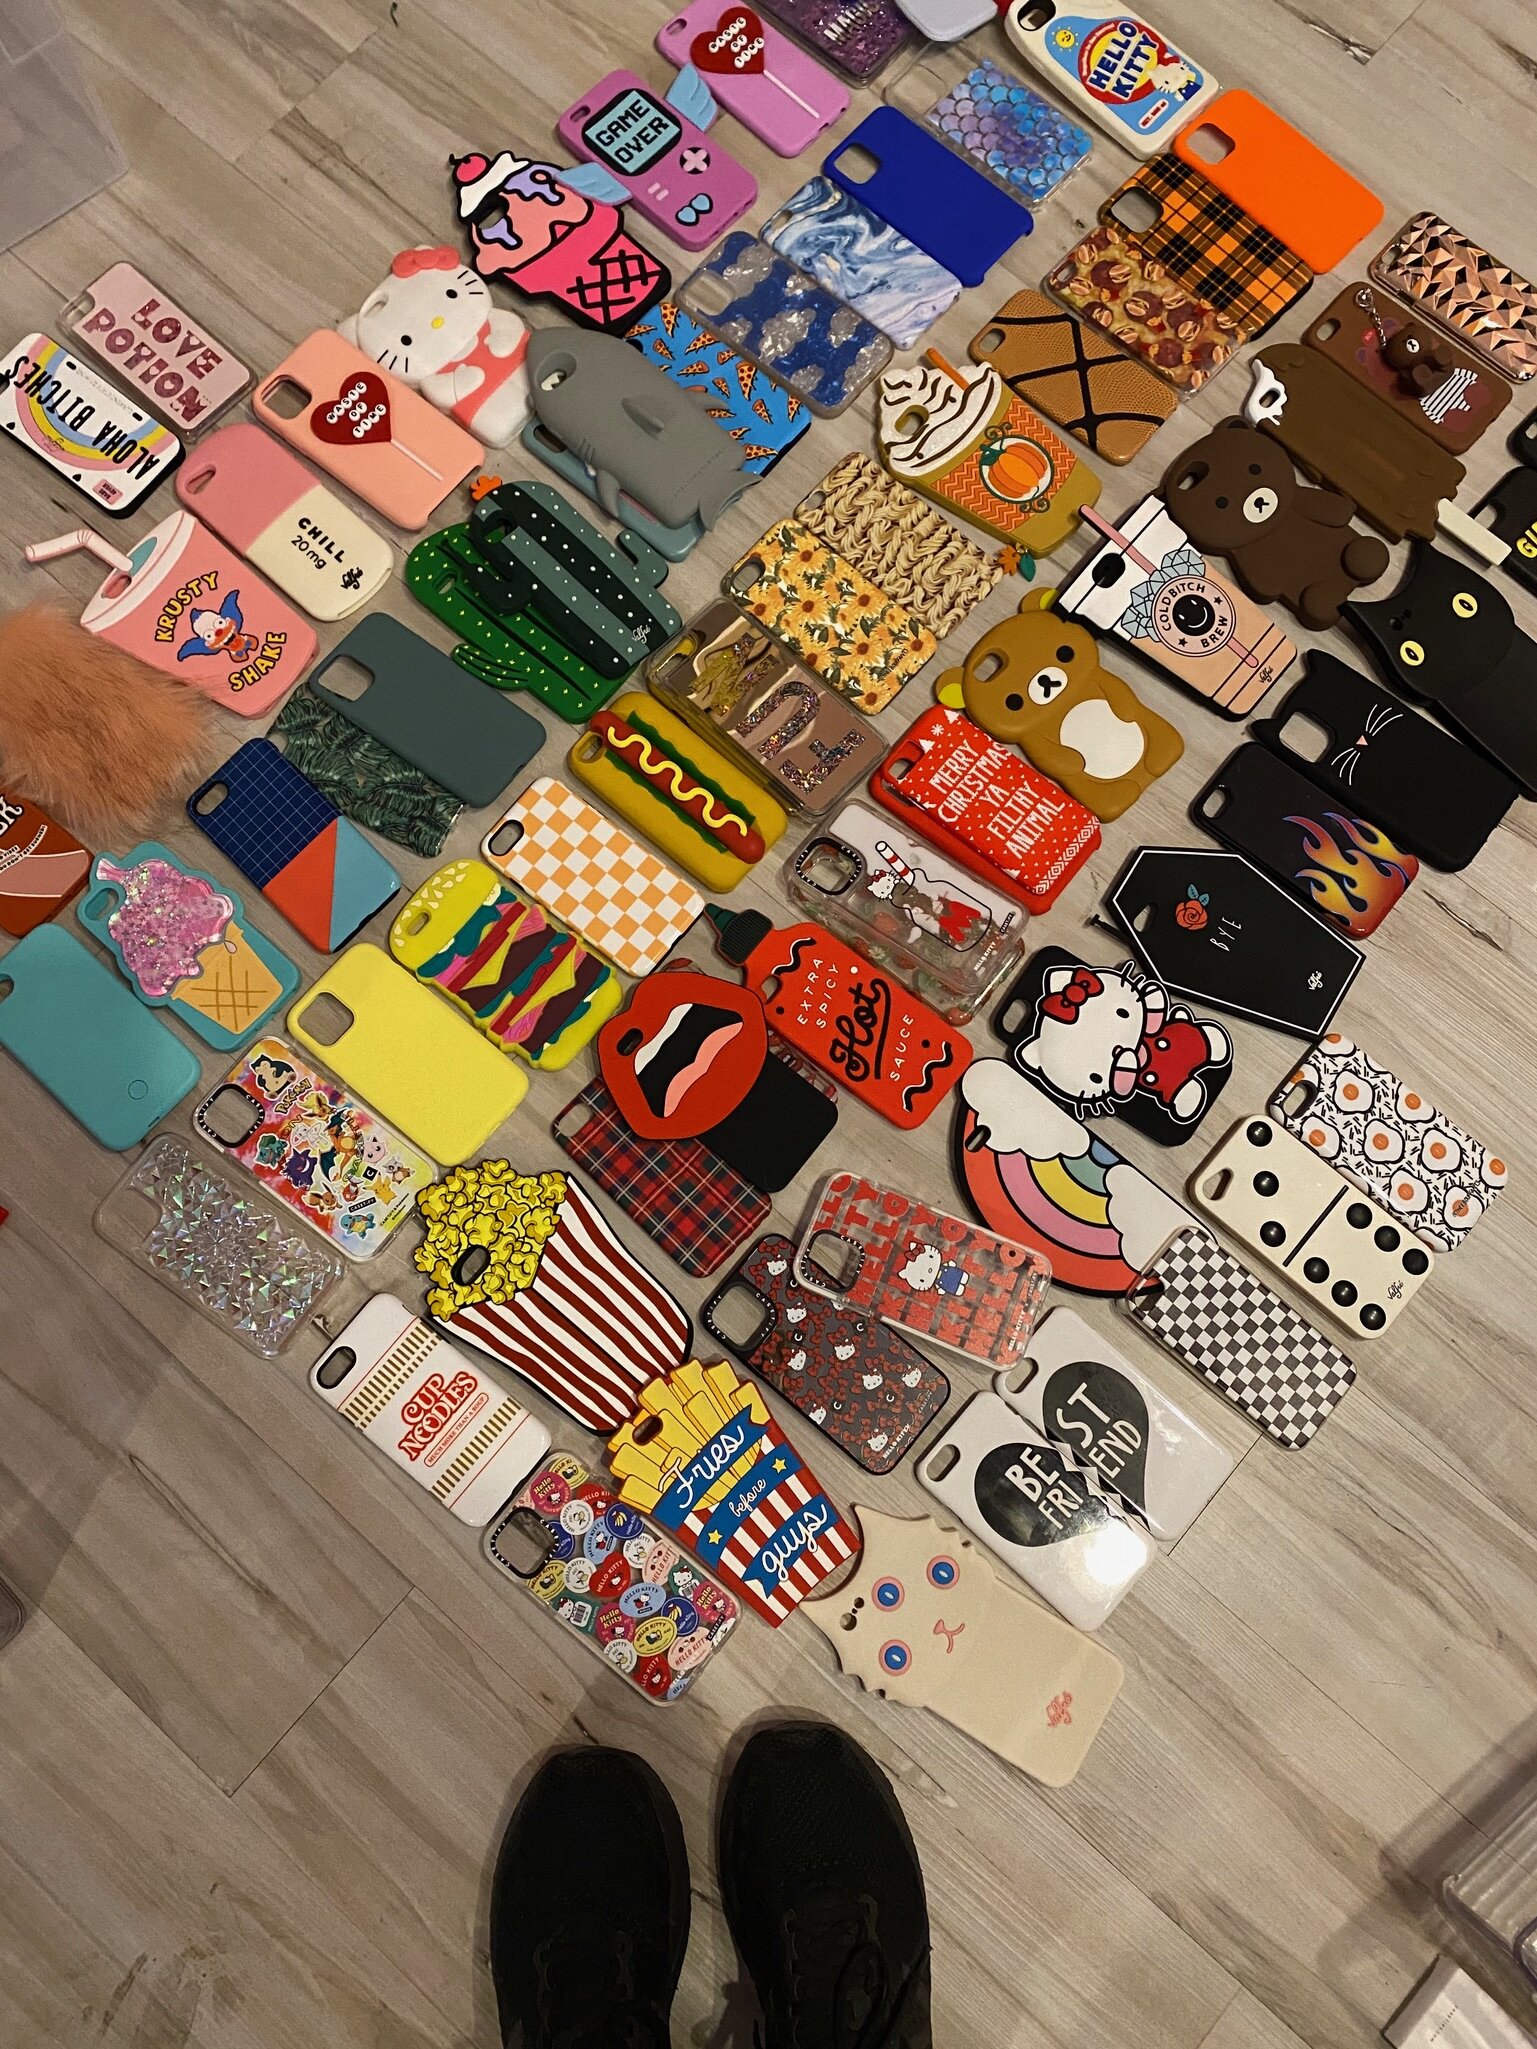
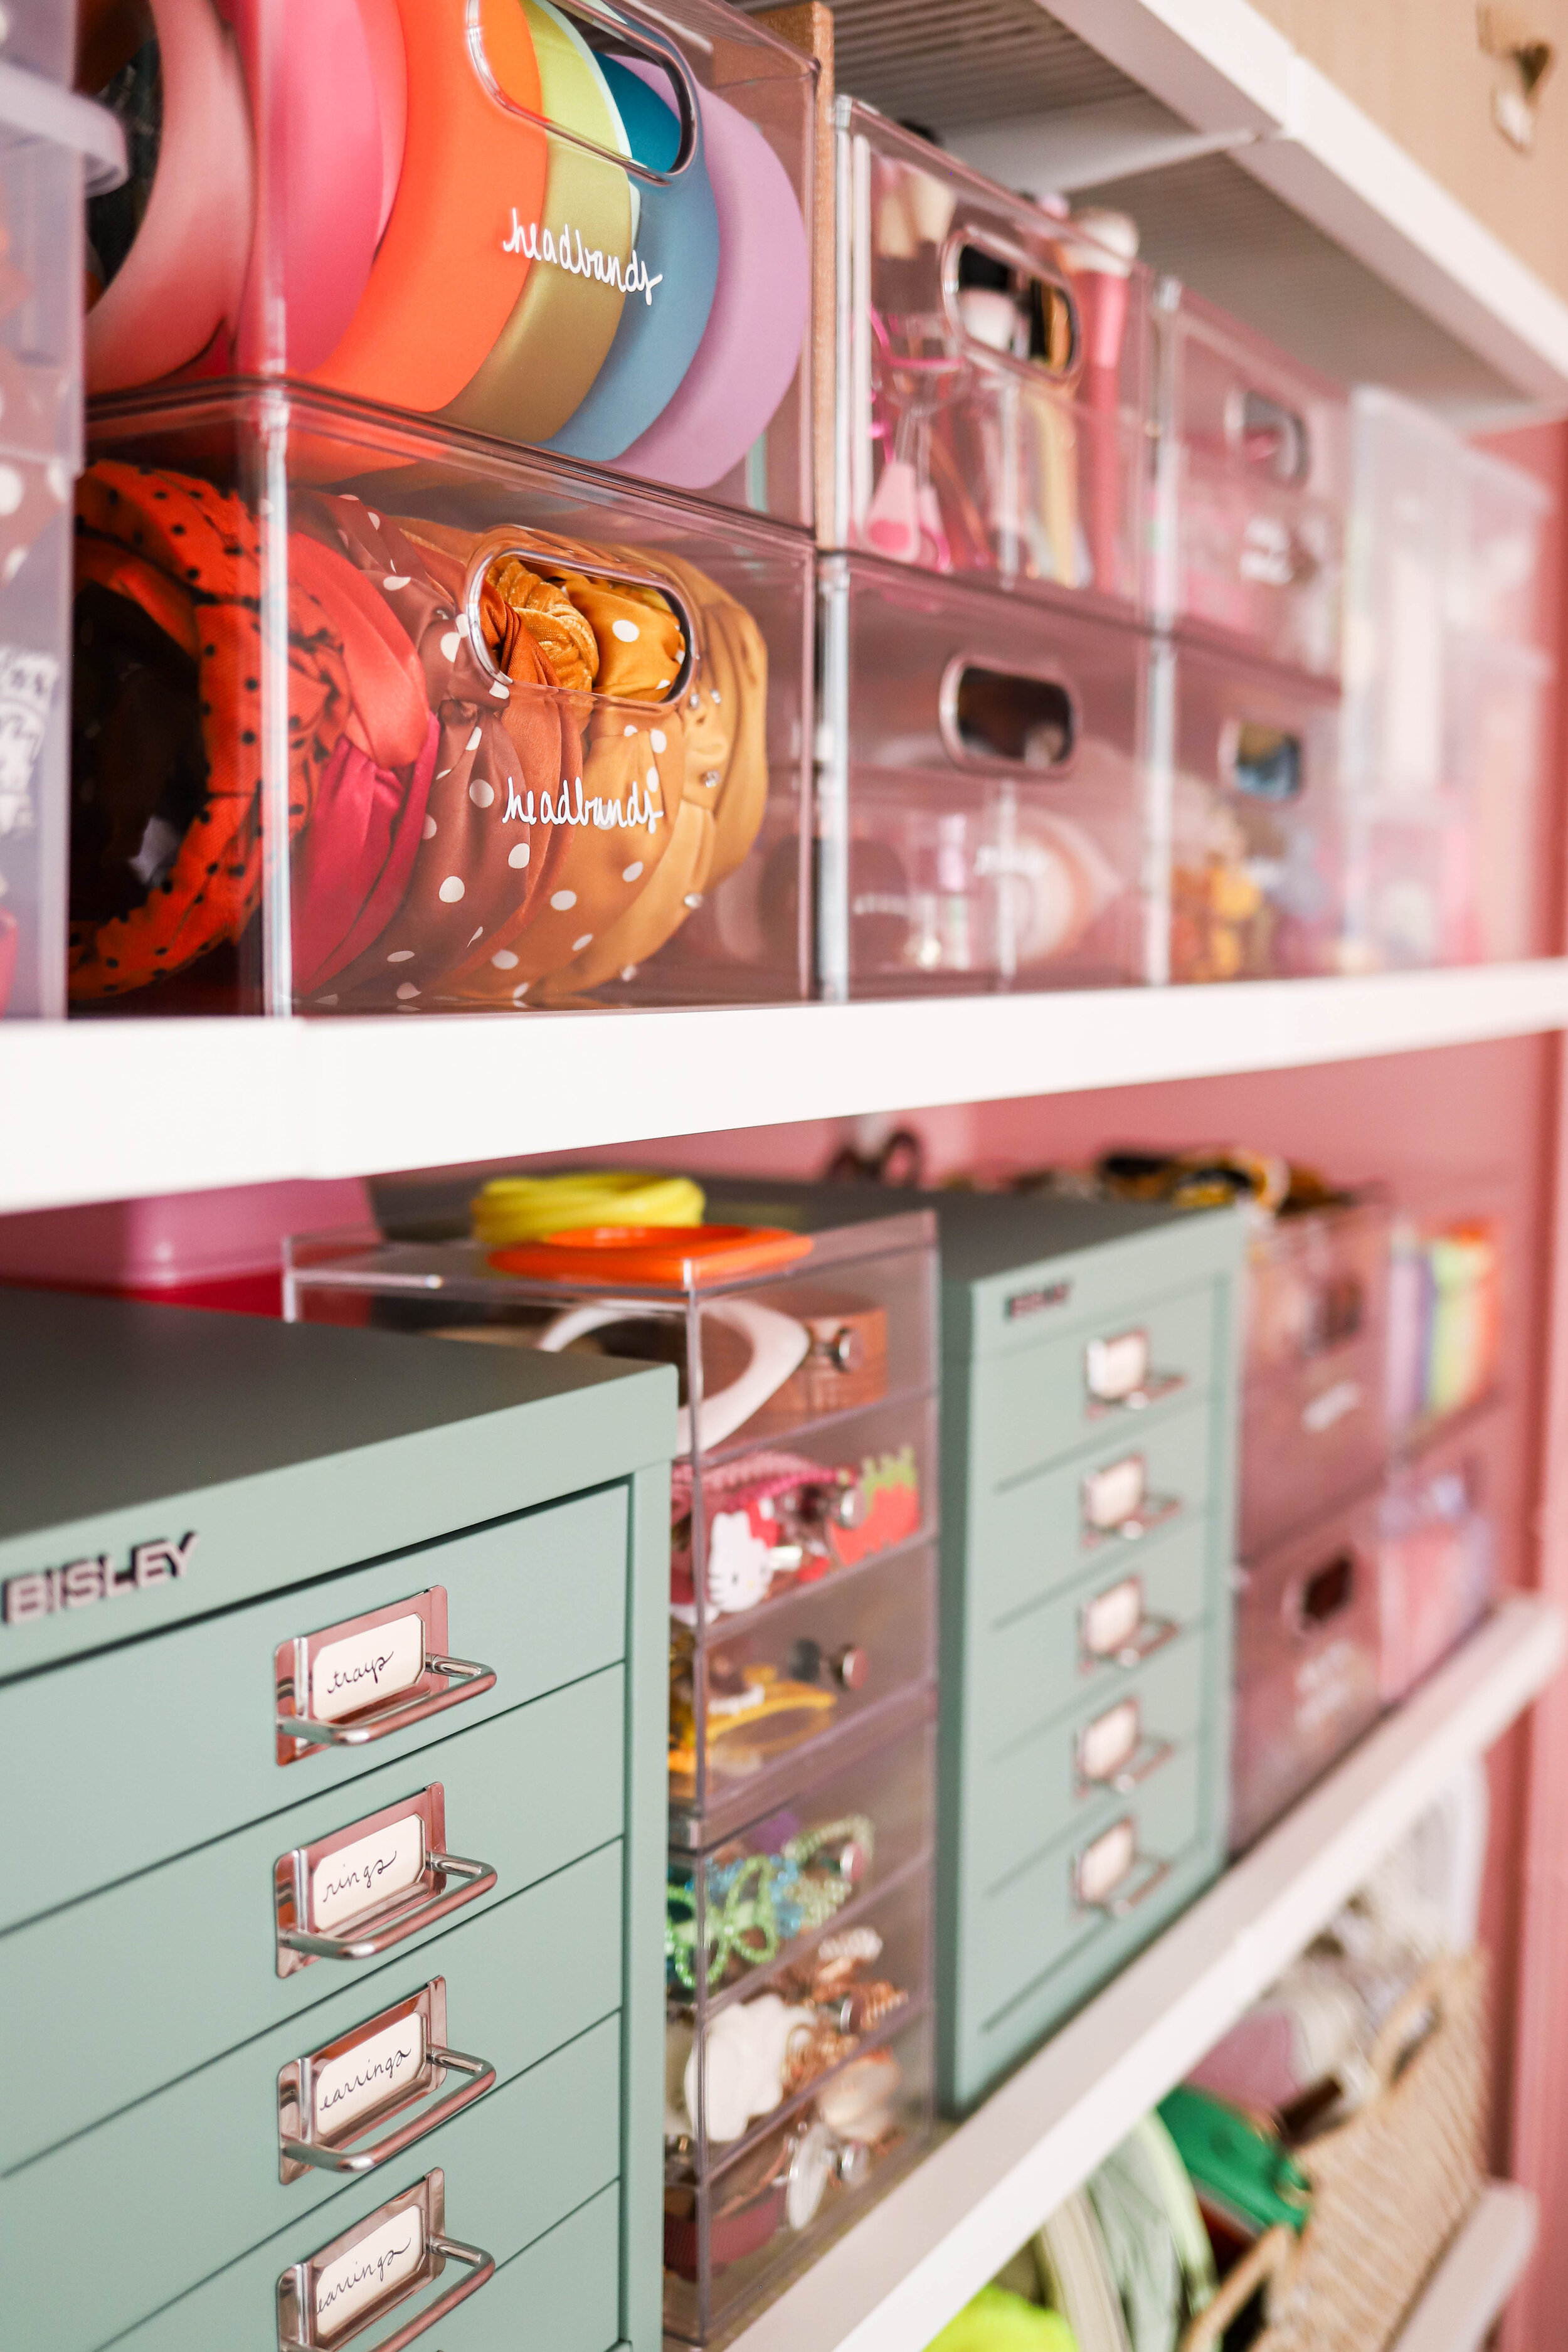
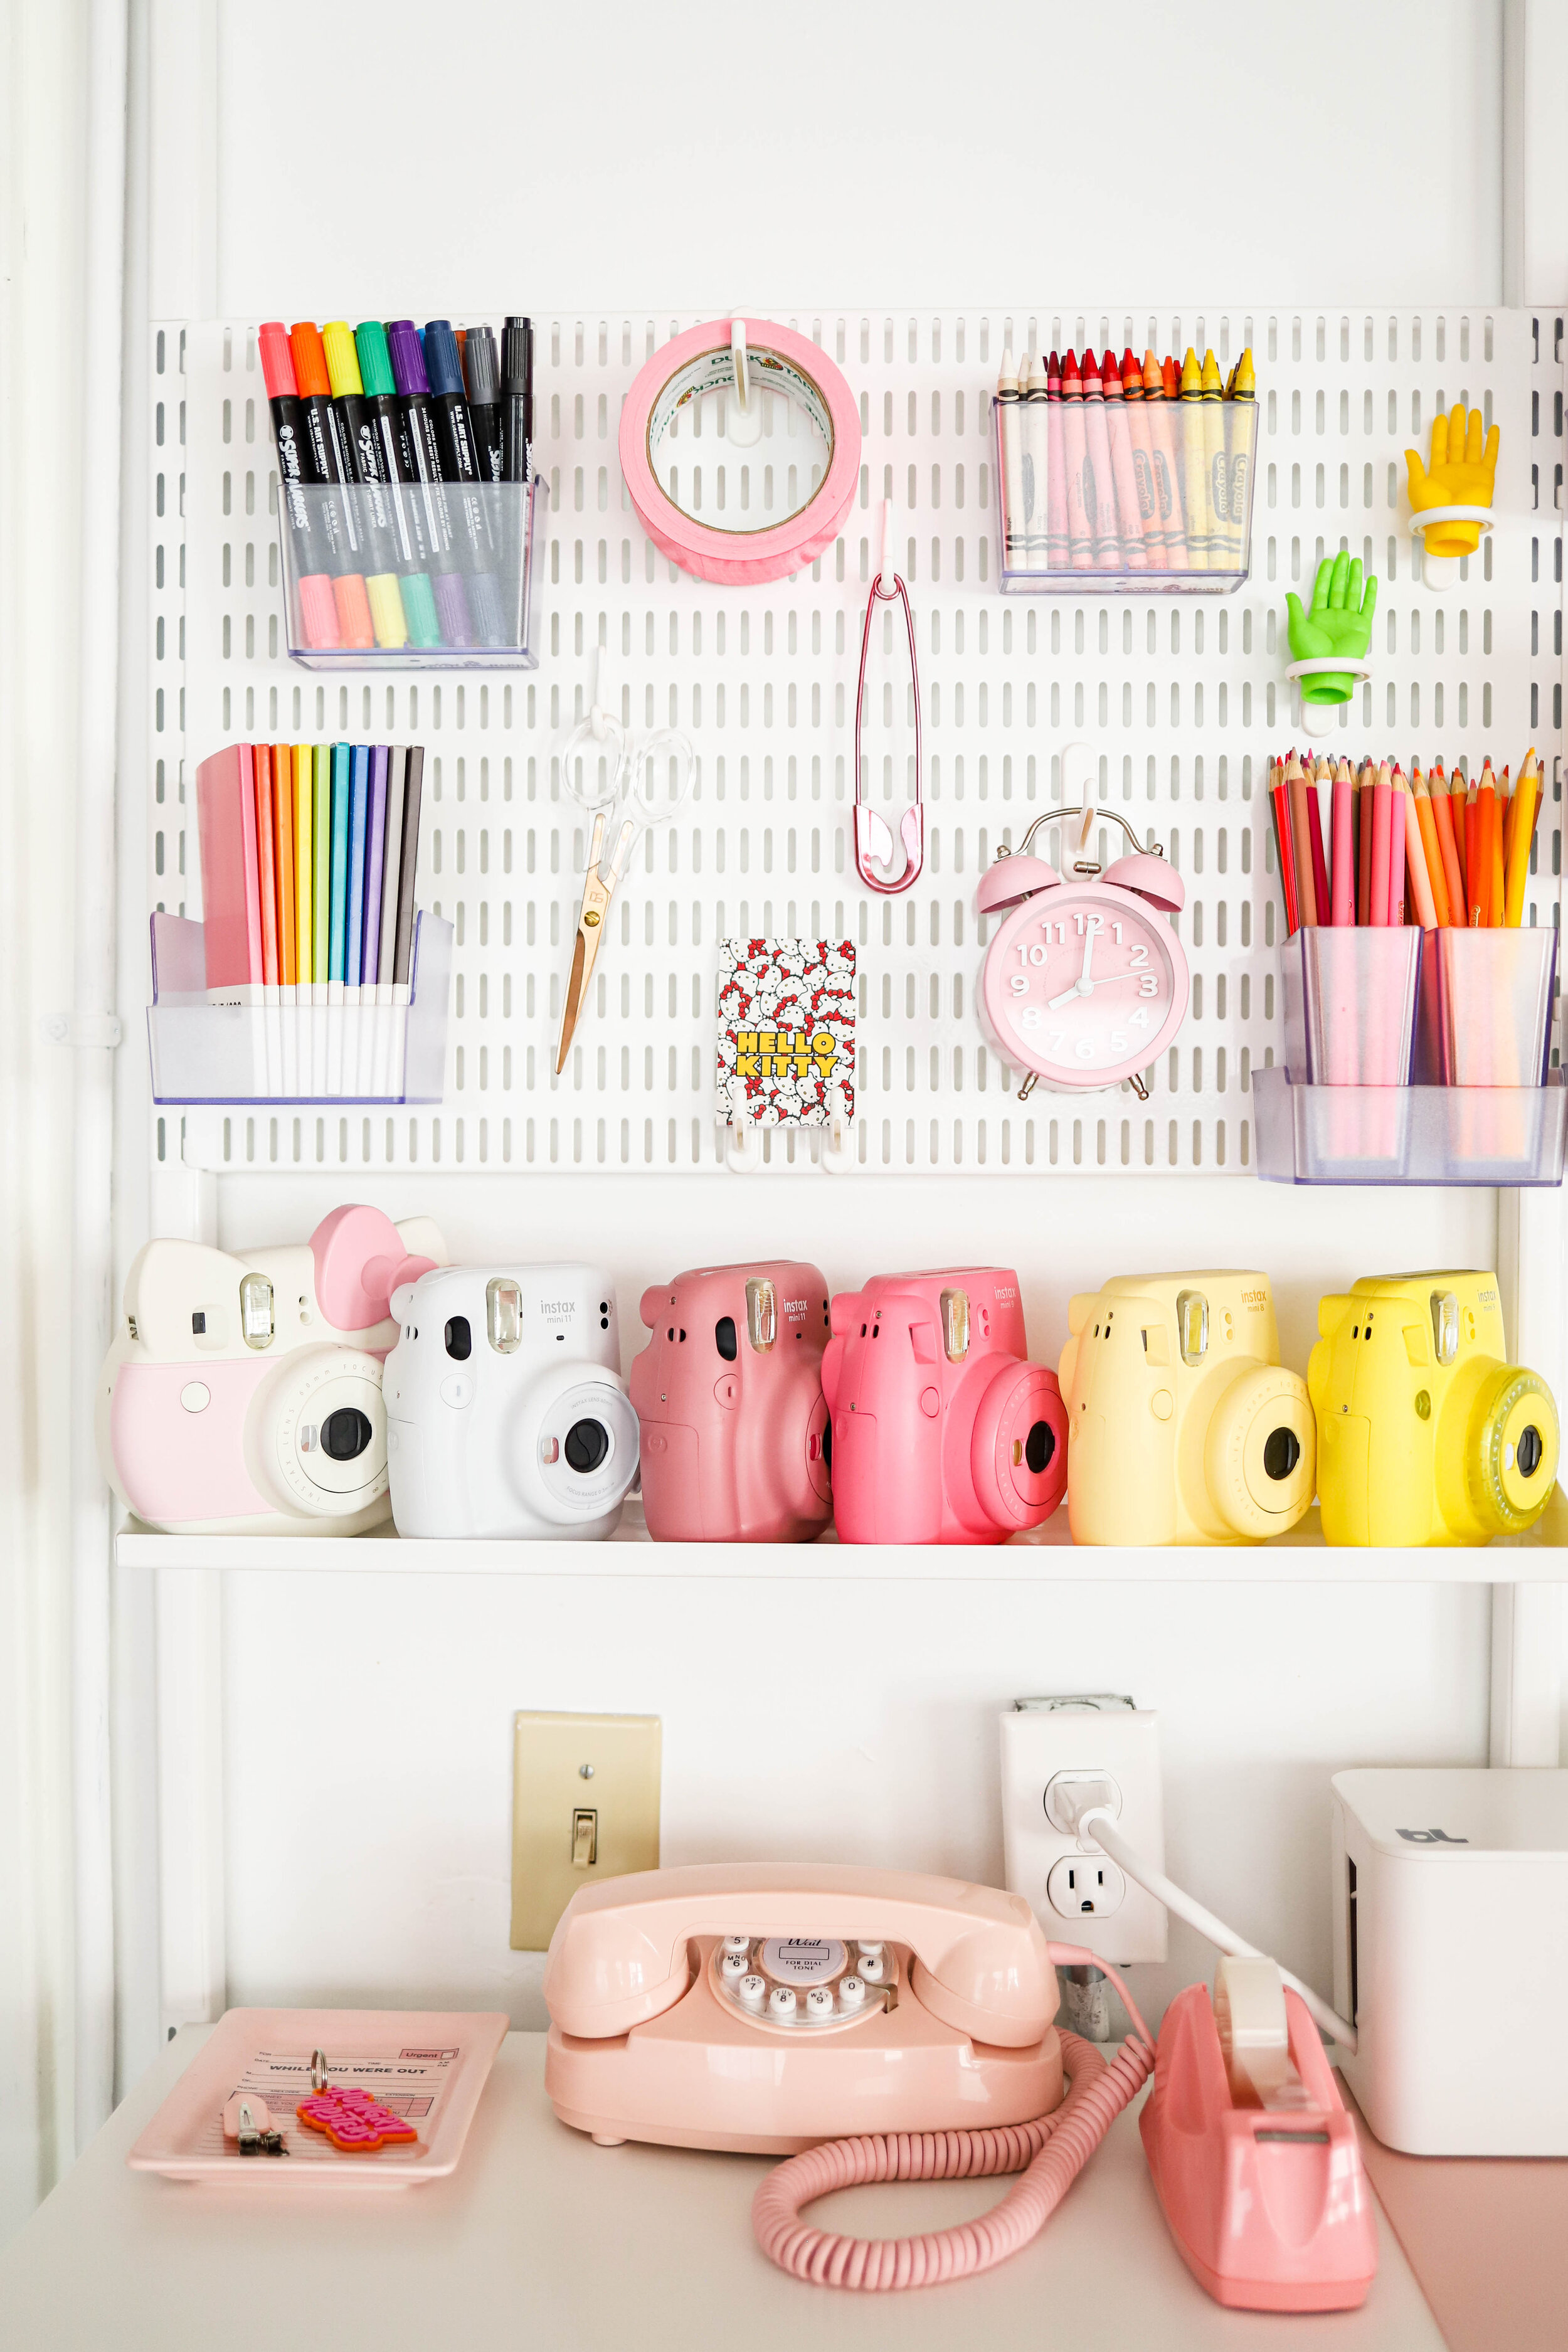
For Bre’s studio space, our vision is a setup where Bre can see and access everything easily. A system that will economically use every square inch of available wall space, building shelves all the way up to the ceiling. A space that allows Bre to store categories together in appropriately-sized containers (aka, no more throwing all of her lipsticks in a 64-gallon bin). And also a space that shows off her amazing collections: phone cases in every shape and size, sunglasses in all colors of the rainbow, a dozen Instax cameras in every available shade. We also envisioned splitting the studio into two halves - one side for storing props, and the other a working office and craft space.
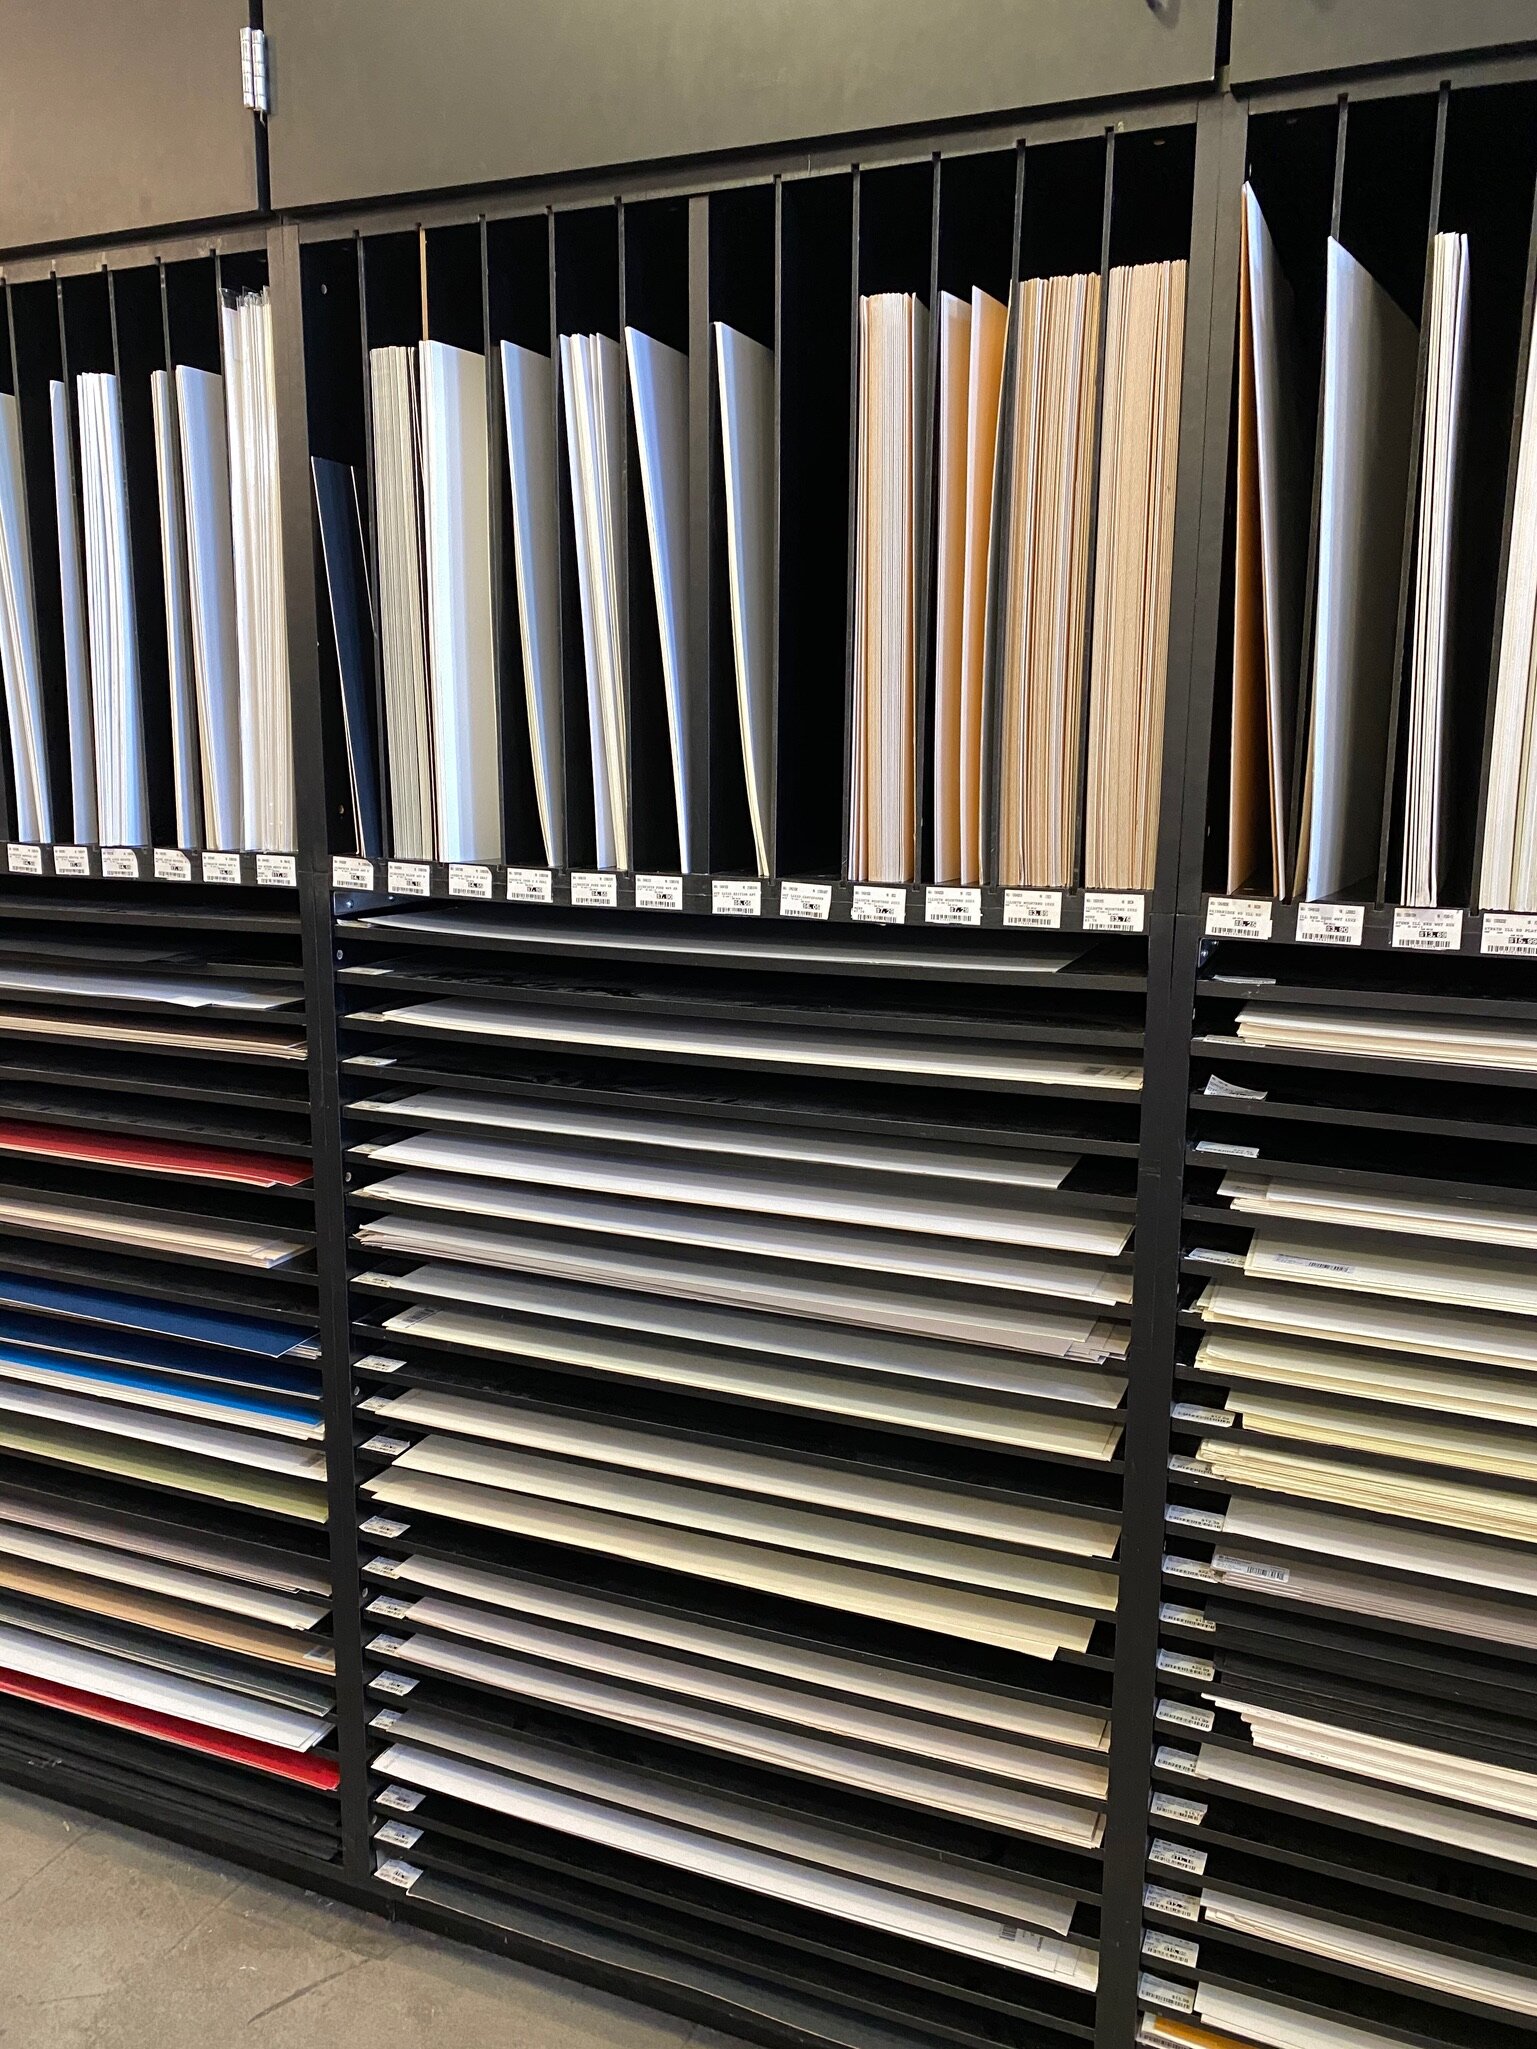
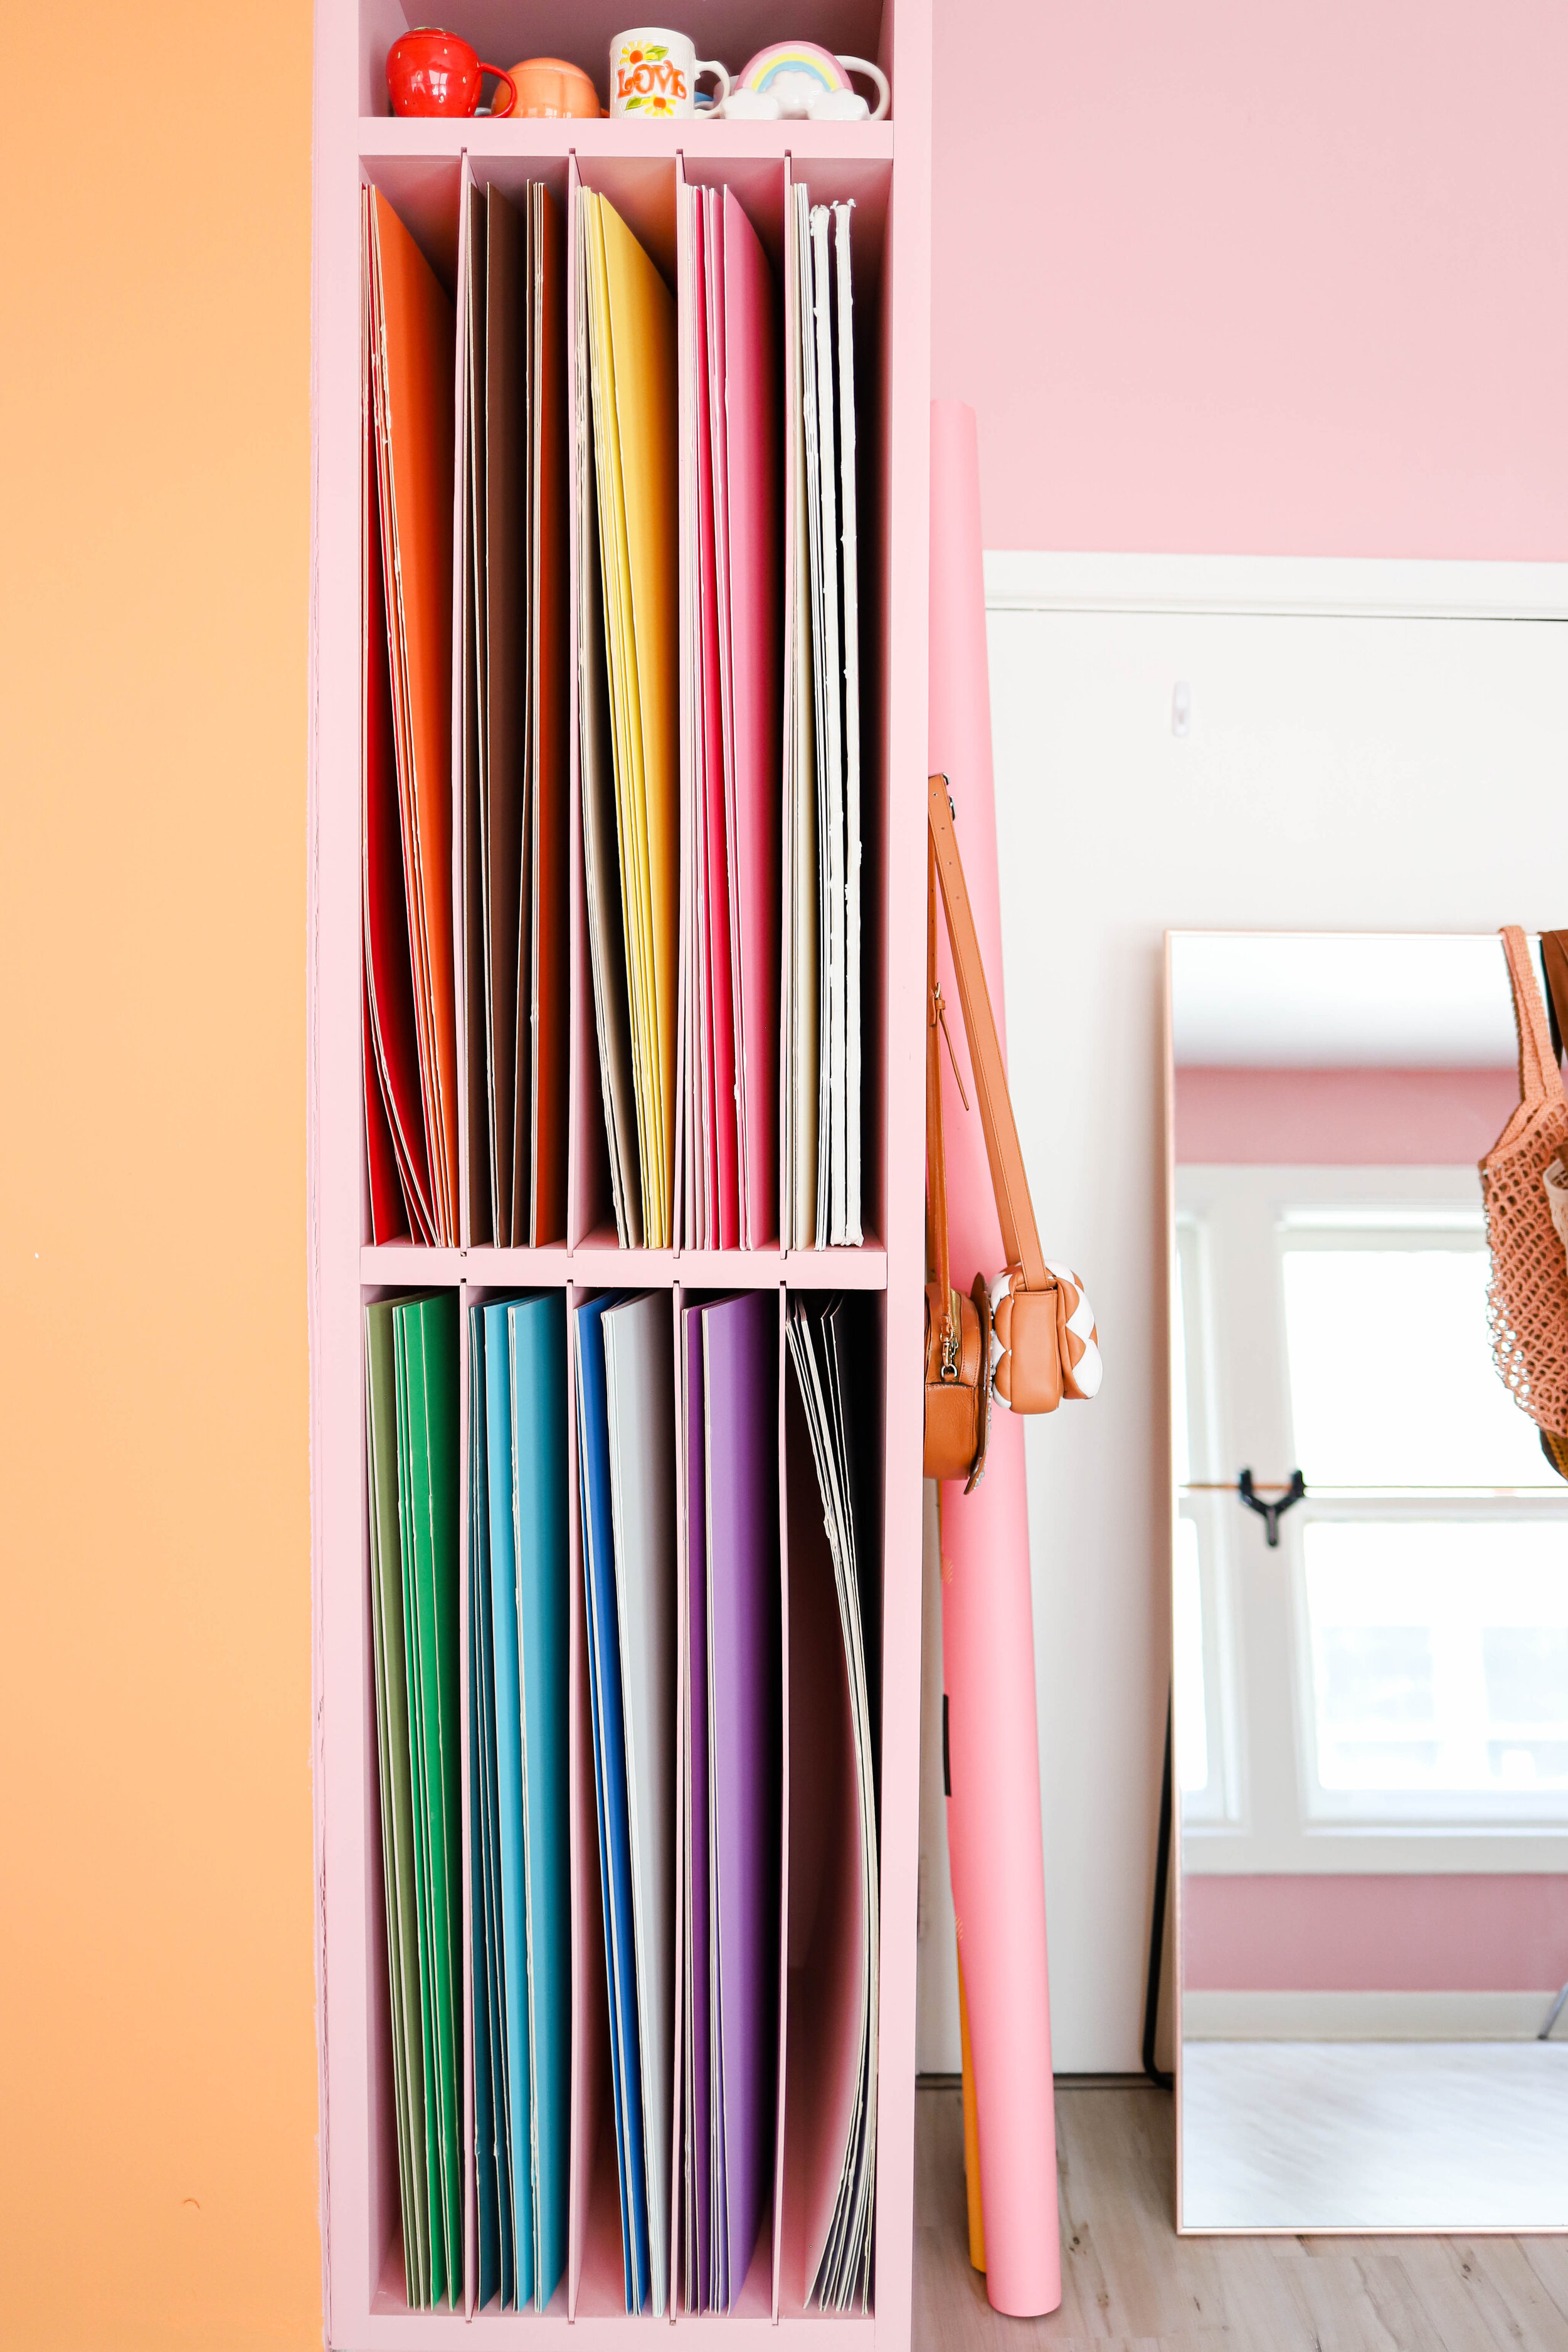
Once we had a cohesive idea of how the studio should function, we worked backwards. We designed custom shelving at The Container Store to fit Bre’s exact needs. We also worked with a local handyman to build flatlay holders (inspired by poster board holders at craft stores) and a giant clothing rod mounted super high so Bre could still use the wall beneath the clothing as a backdrop.

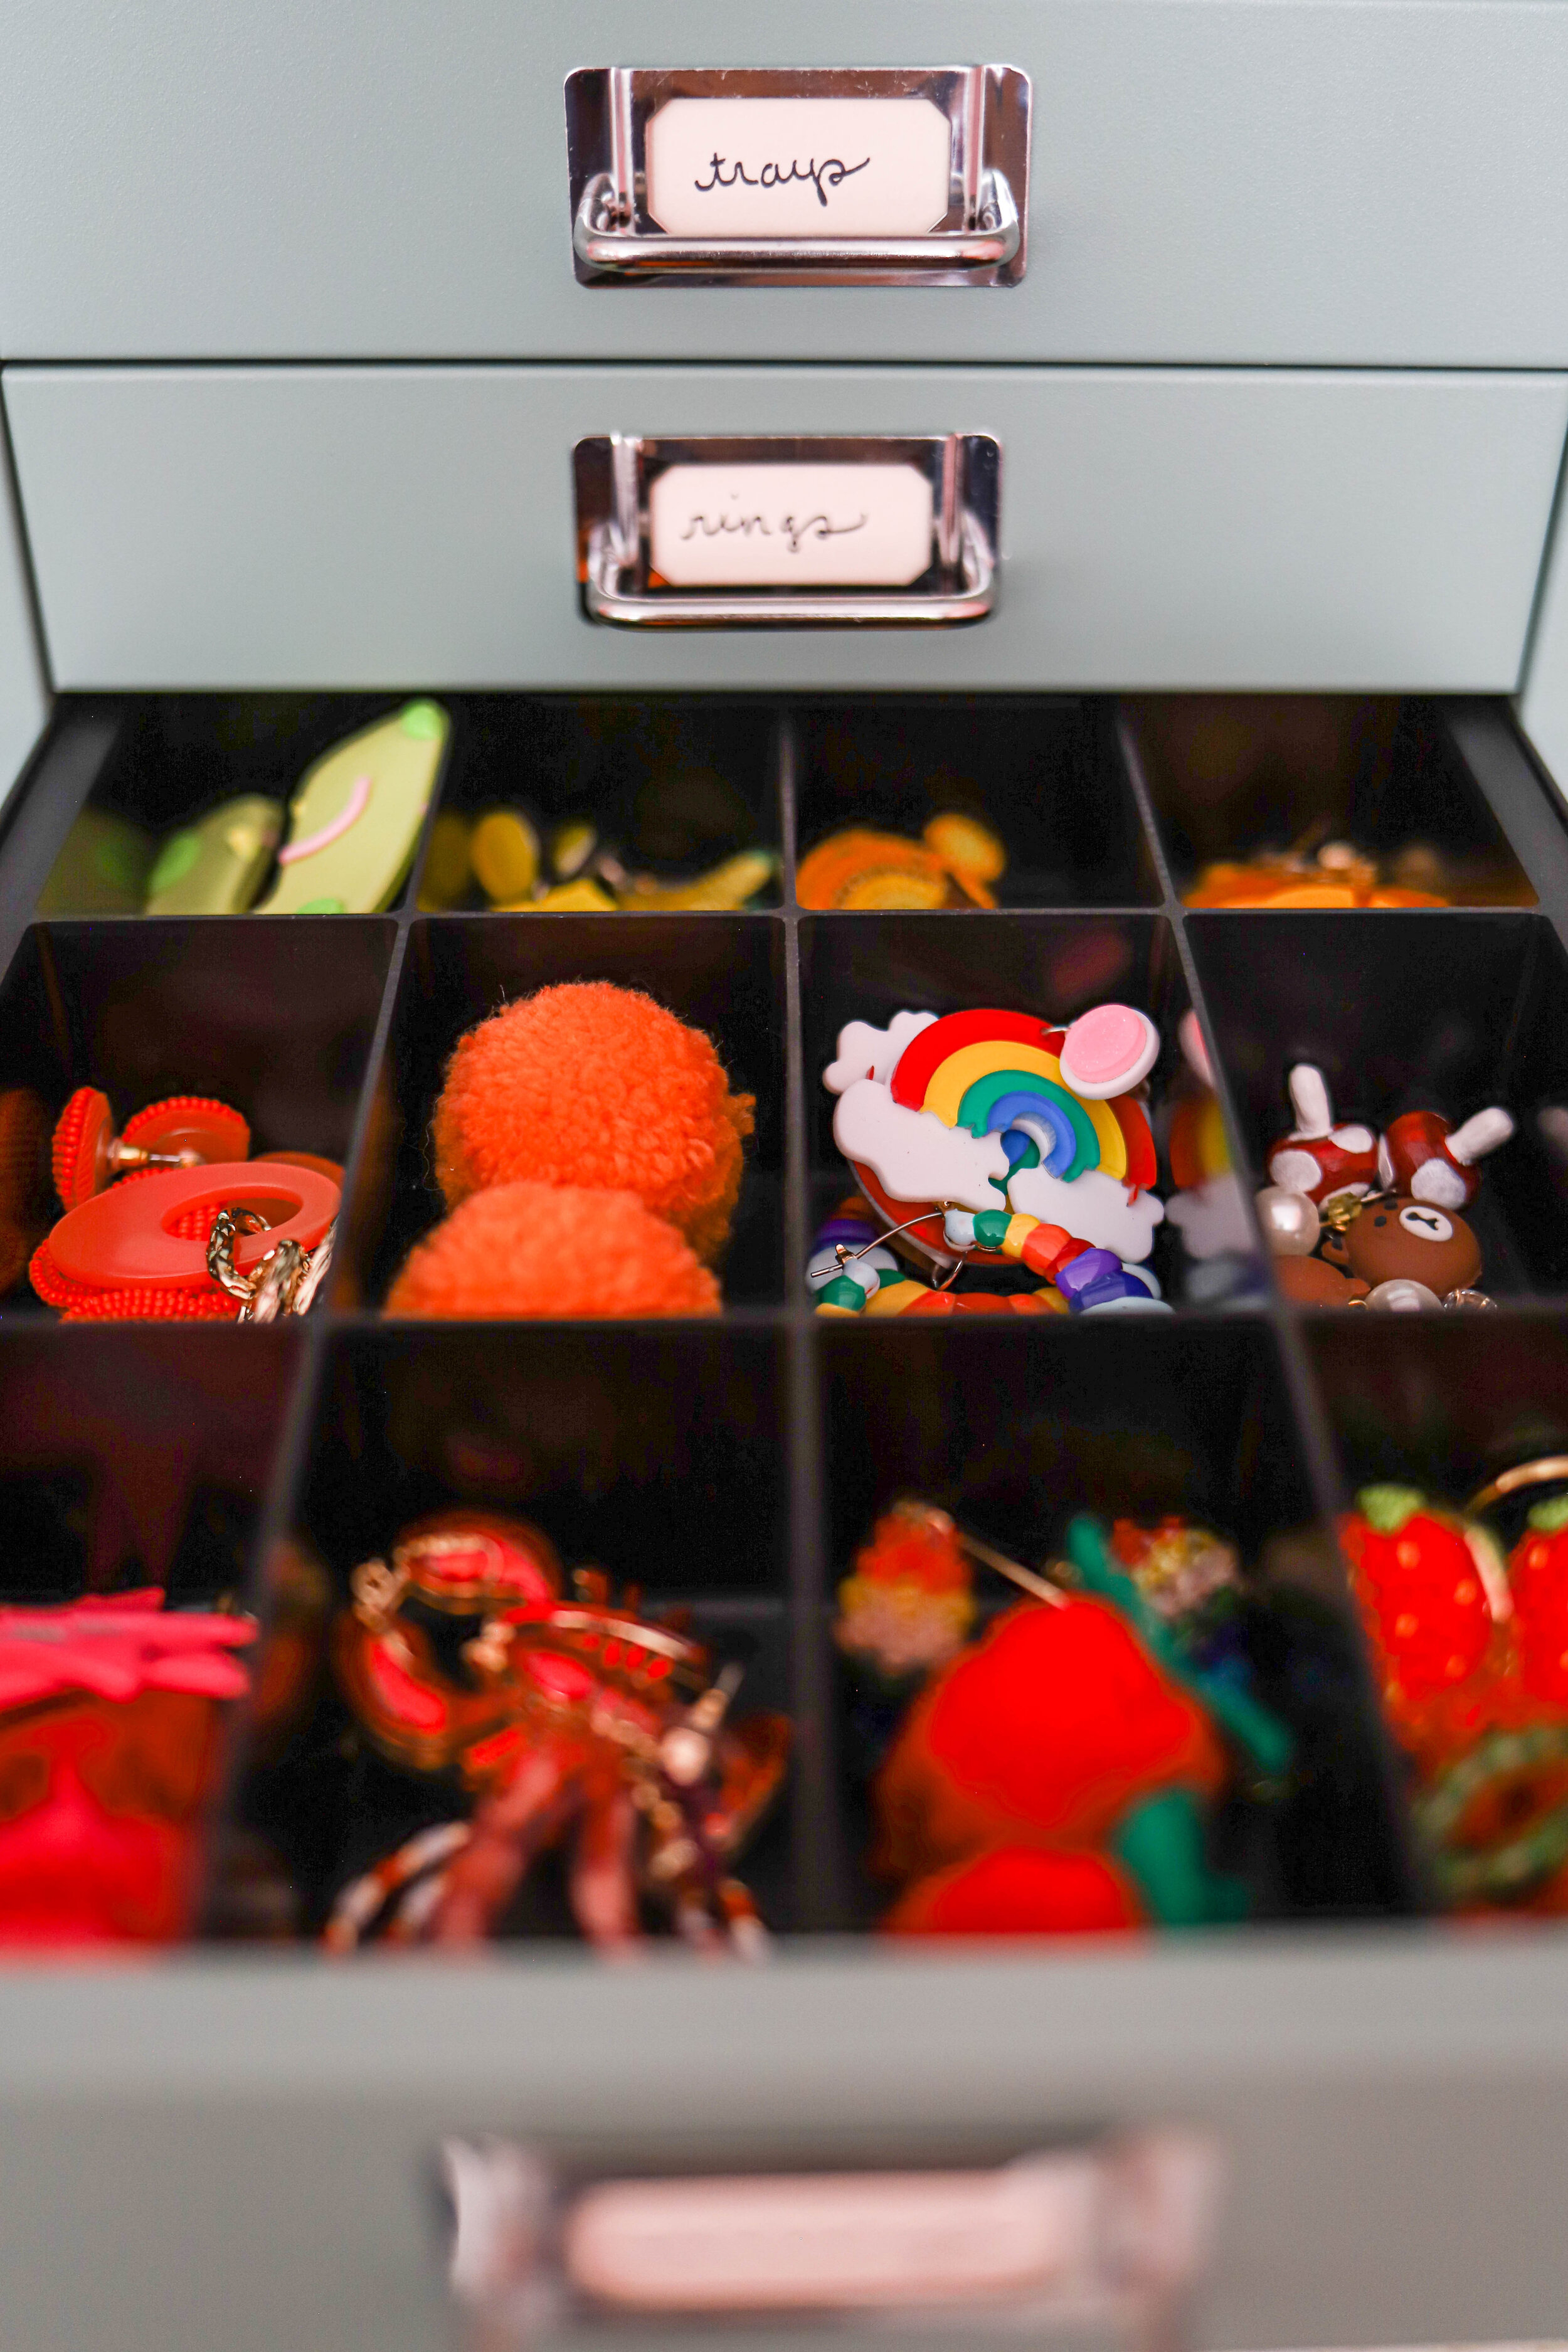
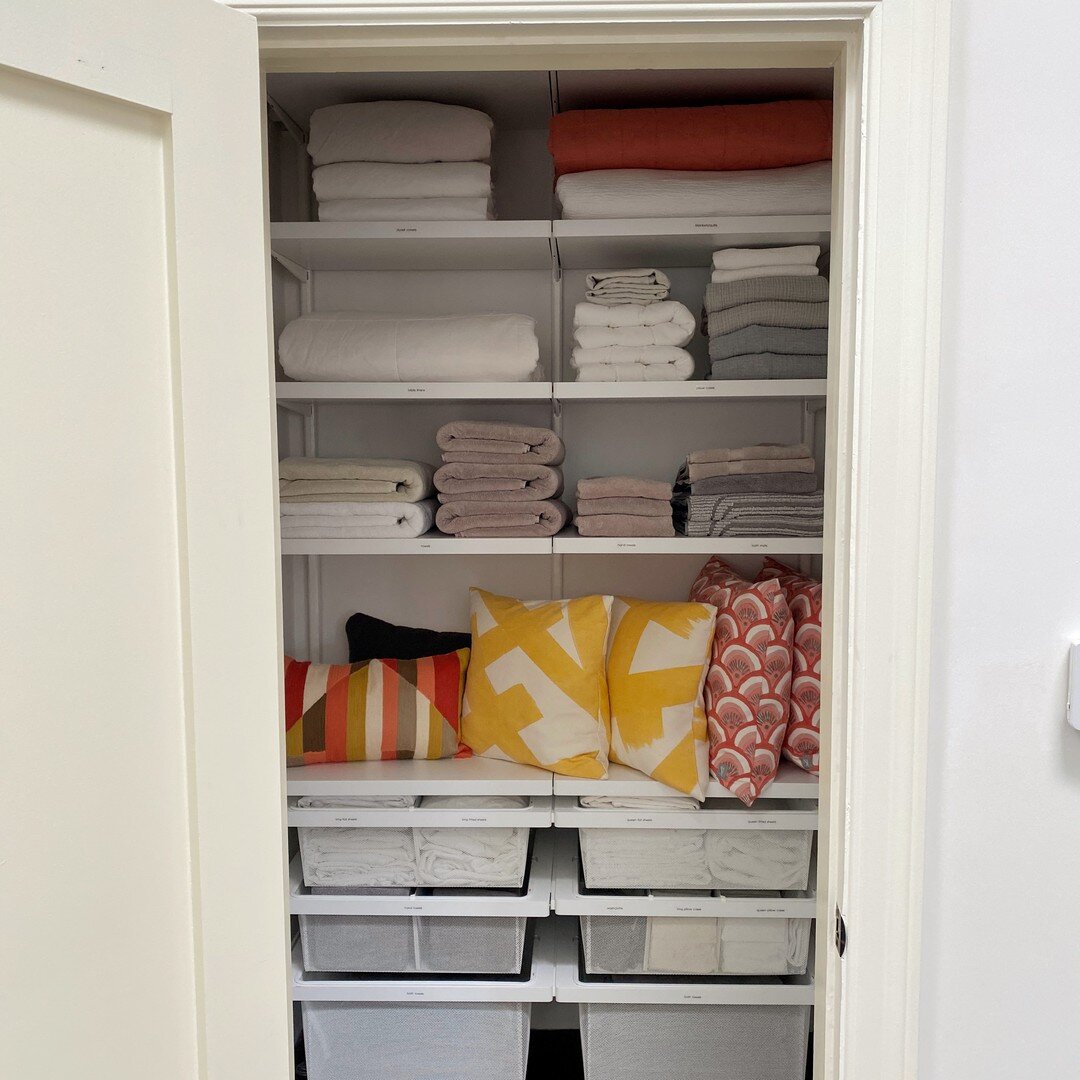
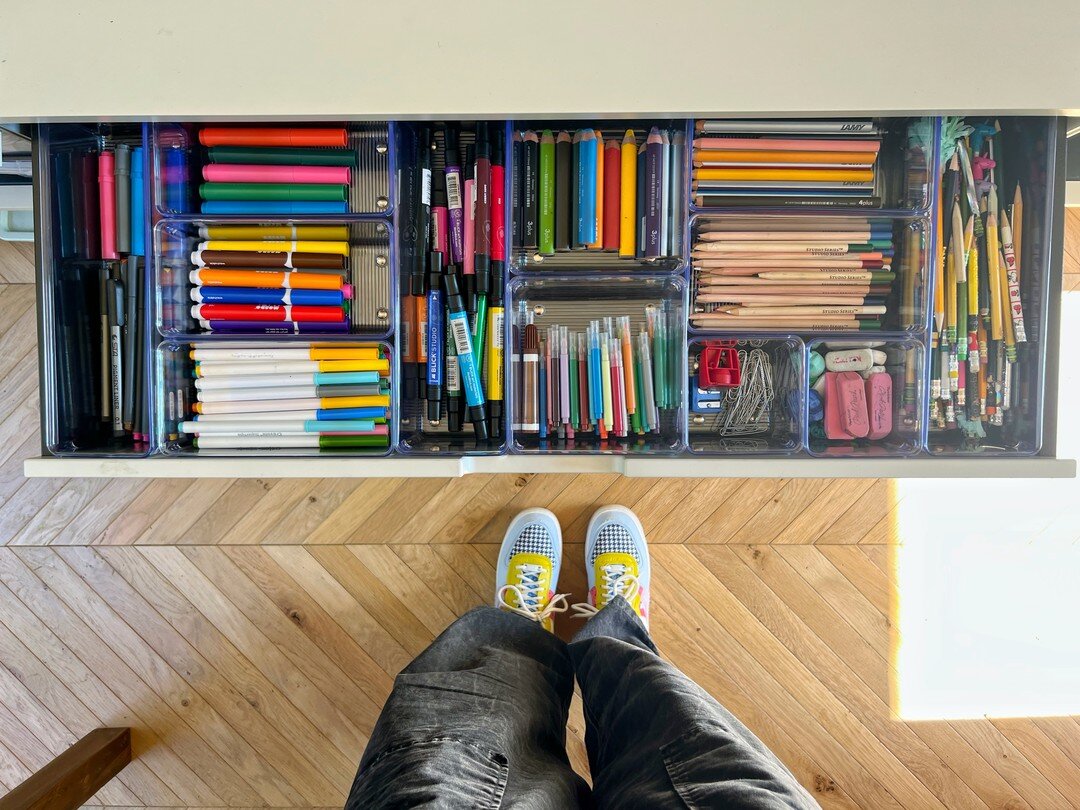
When these building blocks were installed, we continued working backwards, one step at a time. I ordered bins, boxes, and baskets in a variety of sizes, and my team and I spent four incredibly fun days sorting through a treasure trove of nostalgic items (when’s the last time you saw a Tamagotchi in real life?!). We paired categories of items with bins that fit them properly, and then slowly worked out the puzzle of placement. We did our best to store the items Bre uses the most in easy reach, while using the highest shelves for seasonal decor or special occasion props. We added drawers with dividers to her office wall, giving her access to daily supplies right at her fingertips. We used giant baskets (normally meant to hold basketballs or sports equipment) to corral her many blankets and rugs. If we were unsure about something, we tested it: is it easy to get to? Is it a category that makes sense? If not, we scrapped the idea and started again, always keeping our end goals in mind.
And then, all of a sudden, it was done: a beautiful, tidy space where Bre can work and create with maximum efficiency! Back when she was working out of giant boxes, Bre would often have an idea pop into her head for a photo, but by the time she’d pulled out all of the props, she was exhausted and the inspiration was gone. Now she can strike while the iron is hot and her creativity and peace of mind have both benefited from it.

before

after
A year later, my team and I visited the Hungry Hipsters studio and were thrilled to see the space is functioning perfectly for Bre. Like so many of our clients, Bre finds that maintaining her well-organized systems is easier than she expected, and she's held herself to a strict policy of creating space by letting go of older things before adding new ones.
While this is certainly a Happily Ever After story for Bre, if you’re asking yourself what you can personally learn from this, you’re in luck! There’s a lot to take away from Bre’s organizing journey.
If you’ve tried to organize and felt stuck, flip the process around; start at the end and work your way backwards.

Step 1:
Identify how you want the space to feel and function when it’s complete. Really let yourself daydream about the possibilities, and maybe even spend a little time on Pinterest looking at inspiration.

Step 2:
Think through the broad strokes of how your available space would best be used. Do you need to add shelving? Drawers? A hanging rod? Get these things installed.

Step 3:
Sort your items into categories. If you want to have a few bins and boxes on hand while you do this that’s fine, just don’t get attached to them in case they end up not being the best option for you.

Step 4:
Pair categories of items with containers that fit them well. Remember, it usually makes sense to store small items in small containers and large items in large containers.

Step 5:
Arrange the containers in the space you’ve set aside. If you have too much stuff to fit it all comfortably, start letting go of the things you like the least or rarely use until everything fits.

Step 6:
Continue working out the puzzle - be patient - and keep your end goal in mind. Make sure that above all your solutions are functional and maintainable.

Step 7:
Once everything is set in place, don’t forget to label! When new items come in, pick a few things to let go of so your systems stay intact.
This is a process that can work well in complicated spaces with lots of moving parts, like garages, kitchens, or offices. It also can work well for move-ins (when you need to visualize what kind of storage solutions you’ll need before you move your stuff in).
If you need a little extra help and guidance, check out our signature organizing course Make Better Space! It has all the tools you need to organize every space in your home. And, as always, follow along on Instagram where we have lots of saved stories and posts to help you on your organizing journey.

If you want to shop the products we used in Bre’s space, scroll left or right through the pics below. Happy organizing!

